Mission

To provide a learning environment and to assist in robotics projects or really just any hobby related to engineering. There are lessons, project tutorials, and even sensor documentation with usage examples.

Images from Posts

Using Node.js as a web server
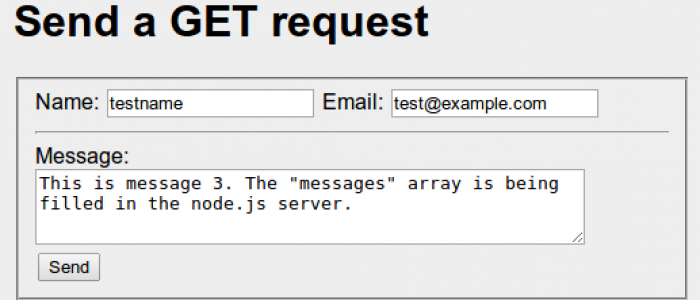
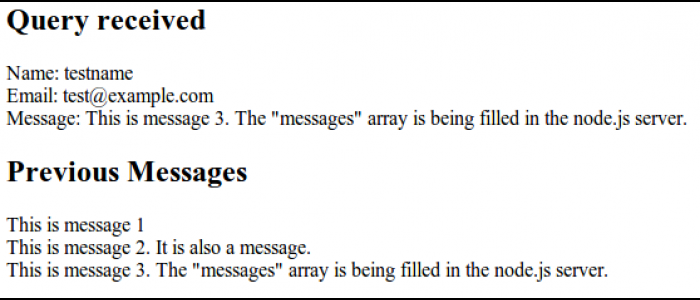
A screenshot of the main page, which is the static form.html file, A screenshot of the dynamically generated response to the form.
A screenshot of the dynamically generated response to the form.
Using Node.js as a web server
A screenshot of the main page, which is the static form.html file, A screenshot of the dynamically generated response to the form.
A screenshot of the main page, which is the static form.html file
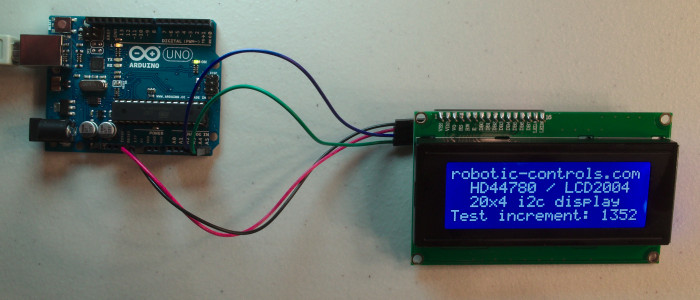
LCD - Sainsmart HD44780 / LCD2004
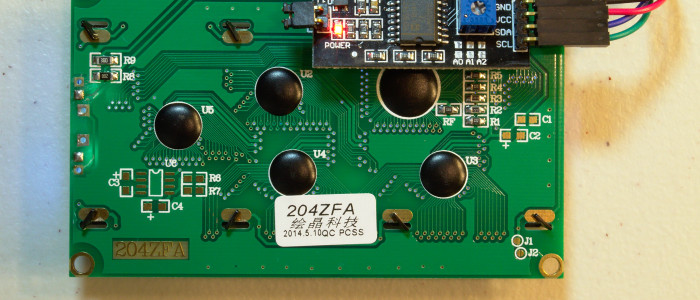
Overview, lights off, Back side, Backlight
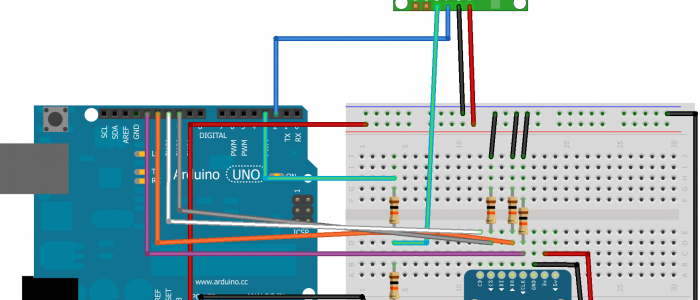
Back side
LCD - Sainsmart HD44780 / LCD2004
Overview, lights off, Back side, Backlight
Overview
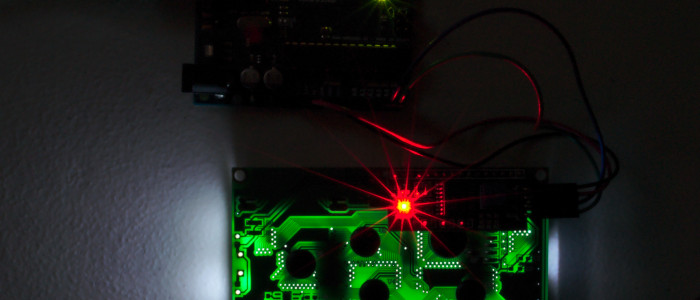
LCD - Sainsmart HD44780 / LCD2004
Overview, lights off, Back side, Backlight
lights off
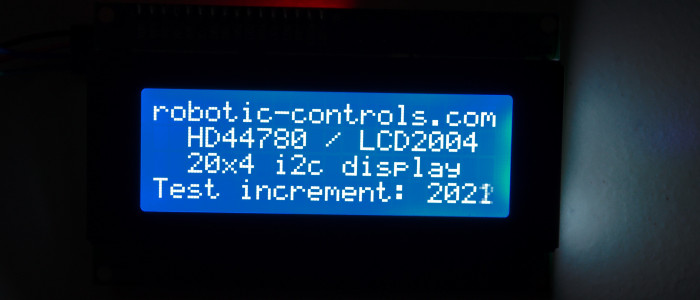
LCD - Sainsmart HD44780 / LCD2004
Overview, lights off, Back side, Backlight
Backlight
  • 0
  • 1
  • 2
  • 3
  • 4
  • 5
  • 6
  • 7
  • 8

Categories

CSS Introduction

Submitted by Evan Boldt on Sat, 03/23/2013 - 21:56

Introduction

htmlTagName, #idname, .classname {
stylename: stylevalue;
color: black;
font-size: 12px;
background-color: #ddd;
}

CSS stands for Cascading Style Sheet. In HTML, you use it to apply a certain look to specific elements in the page. CSS makes it easy to give every page on your website a unified appearance. The format is extremely straightforward, but to be effective you need to know how to specify which element you want styled, find current styling information in a webpage, and you must be aware of all of the styles that can be applied to an element. The general form of a style in a CSS file is like the example shown to the right.
3D SVG Graph

Submitted by Evan Boldt on Fri, 03/15/2013 - 20:19

An SVG is a type of graphic that is defined by shapes and math instead of discrete pixels. So, it is scales nicely, but can't make photo-realistic images. An (currently) SVG is two dimensional. That does not mean, though, that we cannot represent 3D information in this 2D space. After all, it is shown in 2D anyway. To accomplish this, we will build our own 3D rotation matrices, and a 3D to 2D projection matrix. The 3D points can be multiplied by both of these matrices to make it appear 3D, albeit somewhat flat due to the orthographic projection.

Introduction to C++ Programming

Submitted by Evan Boldt on Wed, 03/13/2013 - 18:42

Introduction

Programming is becoming more useful in a variety of fields. There are a lot of uses, but we are most interested in robotics applications. Microcontrollers like the Arduino are programmed in C++, which is undoubtedly the most widespread language. It is powerful, fast, and easier to use than some earlier languages. However, it is not the easiest language to learn. It has a very strict syntax and the errors can be hard to understand. It is still worthwhile to learn due to its usefullness.

If you are just interested in learning programming in general, I highly recommend looking at Codecademy, which is an excellent interactive environment for learning for the first time. Of their courses, Javascript is most similar to C++, but Python is the easiest and most powerful choice. 

The Basics

Programming is actually quite simple. There are really only a few things that you need to know to get started.

  • Data is stored in "variables"
    • The right hand side of an equals sign goes into the storage with the name at the left 
    • There are different kinds of variables that contain different kinds of information
  • A program is executed top down
    • Each line is terminated by a semi colon
    • Comments are ignored ( lines that begin with two slashes: // )
    • There are three fundamental actions that alter the top-down flow:
      • Conditions: do something only if something else is true
      • Loops: do something repeatedly
      • Functions: do a group of things and get a result

Linksprite JPEG Camera

Submitted by Jenn Case on Thu, 03/07/2013 - 10:47
Topics

Introduction

Cameras can be used in numerous applications: survellience, hobbies, robotics, etc. They are very useful to see what is happening when a robot is moving on its own or even to just have fun with.

I got a UART camera to play around with and that I intend to stick on a robot. However, getting the code functioning on the camera was more difficult than I initially expected and there did not appear to be any good tutorials available.

I modified the code provided by Linksprite for their camera so that it will continuously take pictures rather than take one and stop. After all, if this camera is going to be used on a robot, it should be able to take more than one picture.

Adafruit and Sparkfun both provide sample code, but they required having an SD card, which I did not have at the time. This will print the images directly to the serial port and then the images can be translated with the Python code.

PIR Sensor (HC-SR501)

Submitted by Jenn Case on Fri, 03/01/2013 - 08:24
Topics

Introduction

Passive Infra-Red (PIR) sensors are used to detect motion based on the infrared heat in the surrounding area. This makes them a popular choice when building a system to detect potential intruders or people in general. These sensors can take for 10-60 seconds to warm up, so try to avoid motion during that time.

HTML Introduction

Submitted by Evan Boldt on Thu, 02/28/2013 - 10:54

Introduction

HTML is the language that your browser reads when it shows you a webpage. It is a variant of XML.  It makes the actual content that you see, but also can contain visual styling information (typically in the form of an external CSS file) and also can have an in-browser (client-side) programming language called JavaScript.

Bare Minimum Example

<!DOCTYPE html>
<html>   <head>   <title>Minimal</title>   </head>
<body>
    <p>Hello World!</p>
  </body>
</html>

Tag Structure

Tags are put on either end of something to describe the content between the tags. Since HTML is visual, think of a tag as a box drawn around whatever is inside of it. The outermost tags are <HTML>, <HEAD>, and <BODY>. The <HTML> tag simply says that the contents are HTML. It is the very outermost box on the screen. The <HEAD> tag is invisible. It summarizes the contents (like title and keywords) and also lists files the page needs like stylesheets and scripts - both of which can alternatively be embedded into the actual HTML file if desired instead of being a seperate file. The <BODY> tag is where the actual content that you see on in the browser window goes. It can contain images, text, and other containers.

Organized EEPROM storage

Submitted by Evan Boldt on Sun, 02/24/2013 - 12:28
Topics

Introduction

EEPROM is a permanent memory. It will remain even after the Arduino is restarted. It can be reprogrammed around 100,000 times, so it is substantially less resilient than the flash storage or a hard drive. It is also kind of slow (3ms per byte). The Ardiono Uno has 1KB of EEPROM. 

The compiled program is uploaded to flash storage (not EEPROM), which is faster and larger. So, if you can, it is better to write keep as much as possible in the C++ file.

Sometimes it can be convenient or more reliable to use the EEPROM. You could log sensor readings to EEPROM so that the data will still be there even if it loses power. Alternatively, you could use an SD shield and get more, more reliable, and more portable storage.

If you have multiple Arduinos for a project that do the same tasks, but want a way to differentiate them despite having identical programming, you could flash an ID number to the EEPROM.

LaTeX

Submitted by Evan Boldt on Sat, 02/23/2013 - 17:35
Topics

Introduction

LaTeX is a typesetting system. It's an easy way to make very professional looking papers. In fact, many academic books were written in LaTeX. You can usually tell by looking in the first few pages. Somewhere it might say "Typeset in LaTeX".

LaTeX cannot really help you build a robot, but if you are building a robot either professionally or academically, you will need to present your project in a technical and professional manner with a well-polished document.

LaTeX basically takes a plain text file with special syntax and compiles that syntax into a well-formatted PDF.

Computer Power Supply

Submitted by Evan Boldt on Tue, 02/19/2013 - 22:43
Topics

Introduction

A lot of us have an old desktop computer we don't want anymore and it's good to re-use components. You'll find in each standard sized desktop, an ATX power supply. It's a standardized form factor for AC-to-DC power conversion with +3, +5, +12, and sometimes -5 and -12 VDC rails. If you look on the side, there is a sticker that will say what power it is rated to output.

Most power supplies are rated for usage in the range of 300 Watts to 600 Watts. High end ones go from 700 to 1200 Watts. That's not "toy" power. It can be dangerous and these things don't seem to have any fuses or anything in them. I melted a +5VDC wire for a few seconds when it accidentally contacted a ground. You could definitely start a fire with this and maybe hurt yourself. That being said, it is nice to have a nearly unlimited and somewhat well regulated power supply for no cost. You can get them new for about 20$ too, which seems like a good deal due to the variety of standardized voltages available.

It is not entirely straightforward to use these. They don't just turn on when they get power and there is no button for it. It is designed to be managed by an ATX compatible motherboard on computer. Basically, you need to short a specific pin to ground with a specific resistance (or use a potentiometer, like I did).

Completed Project Gallery:

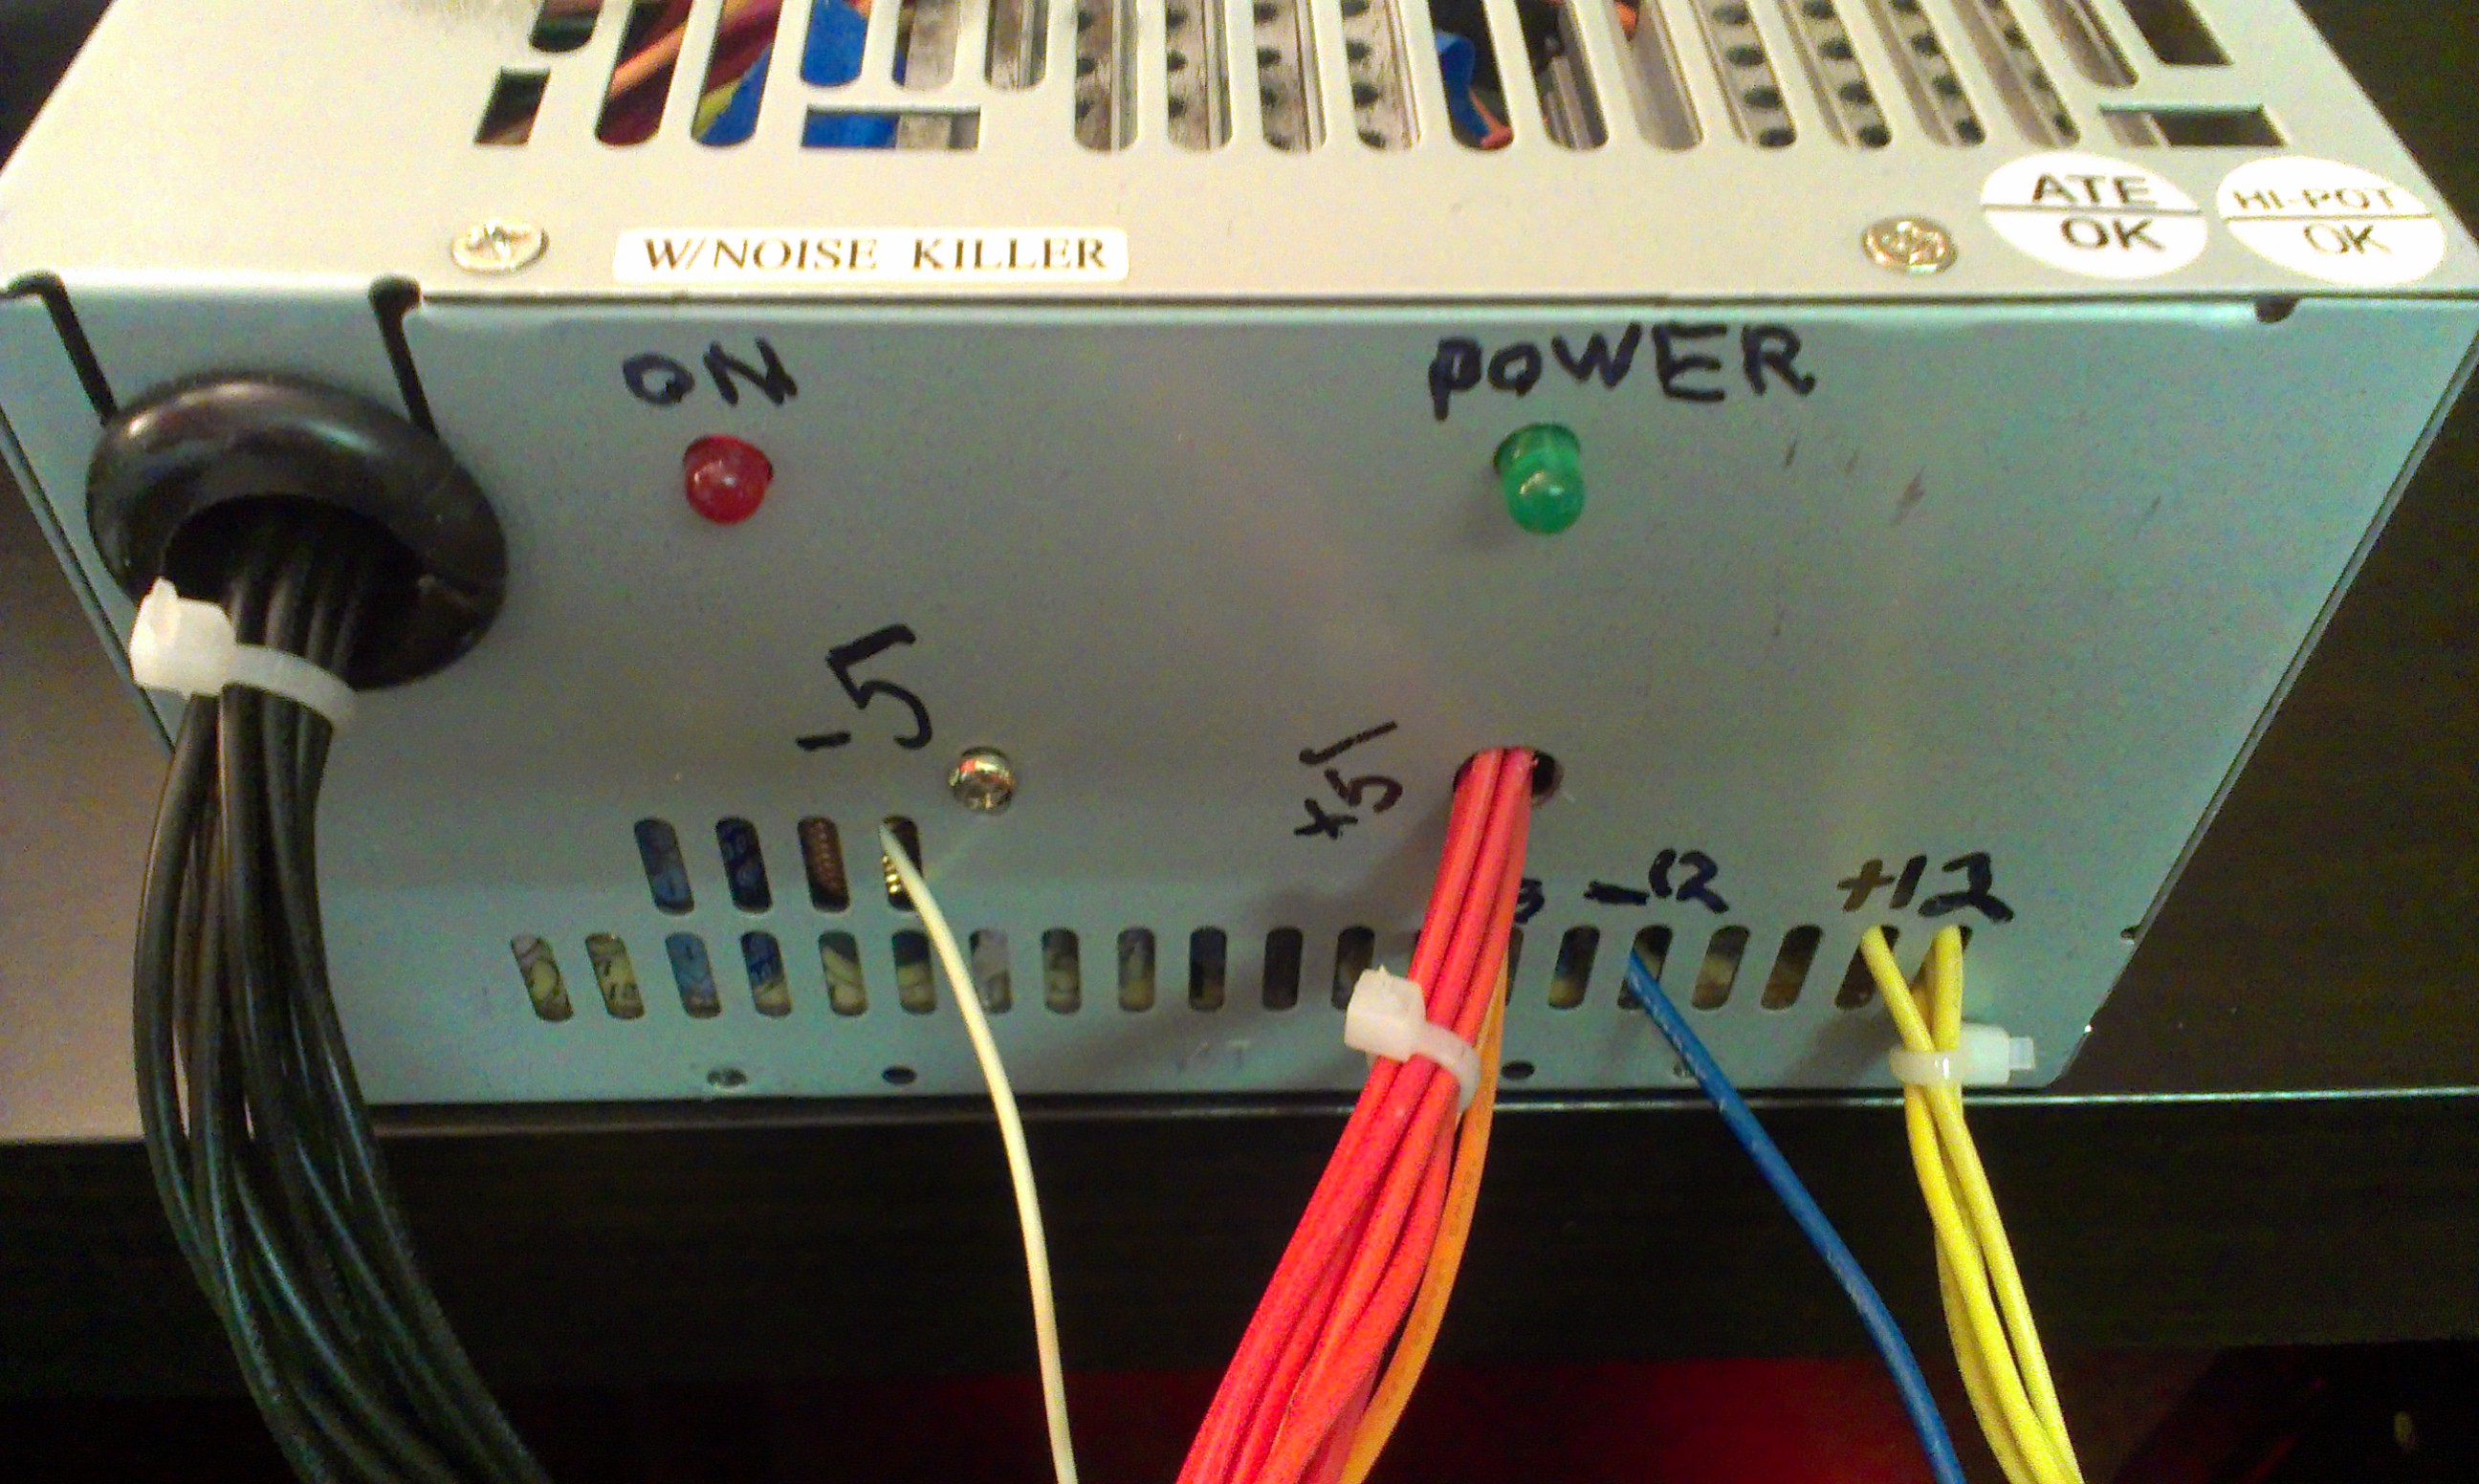
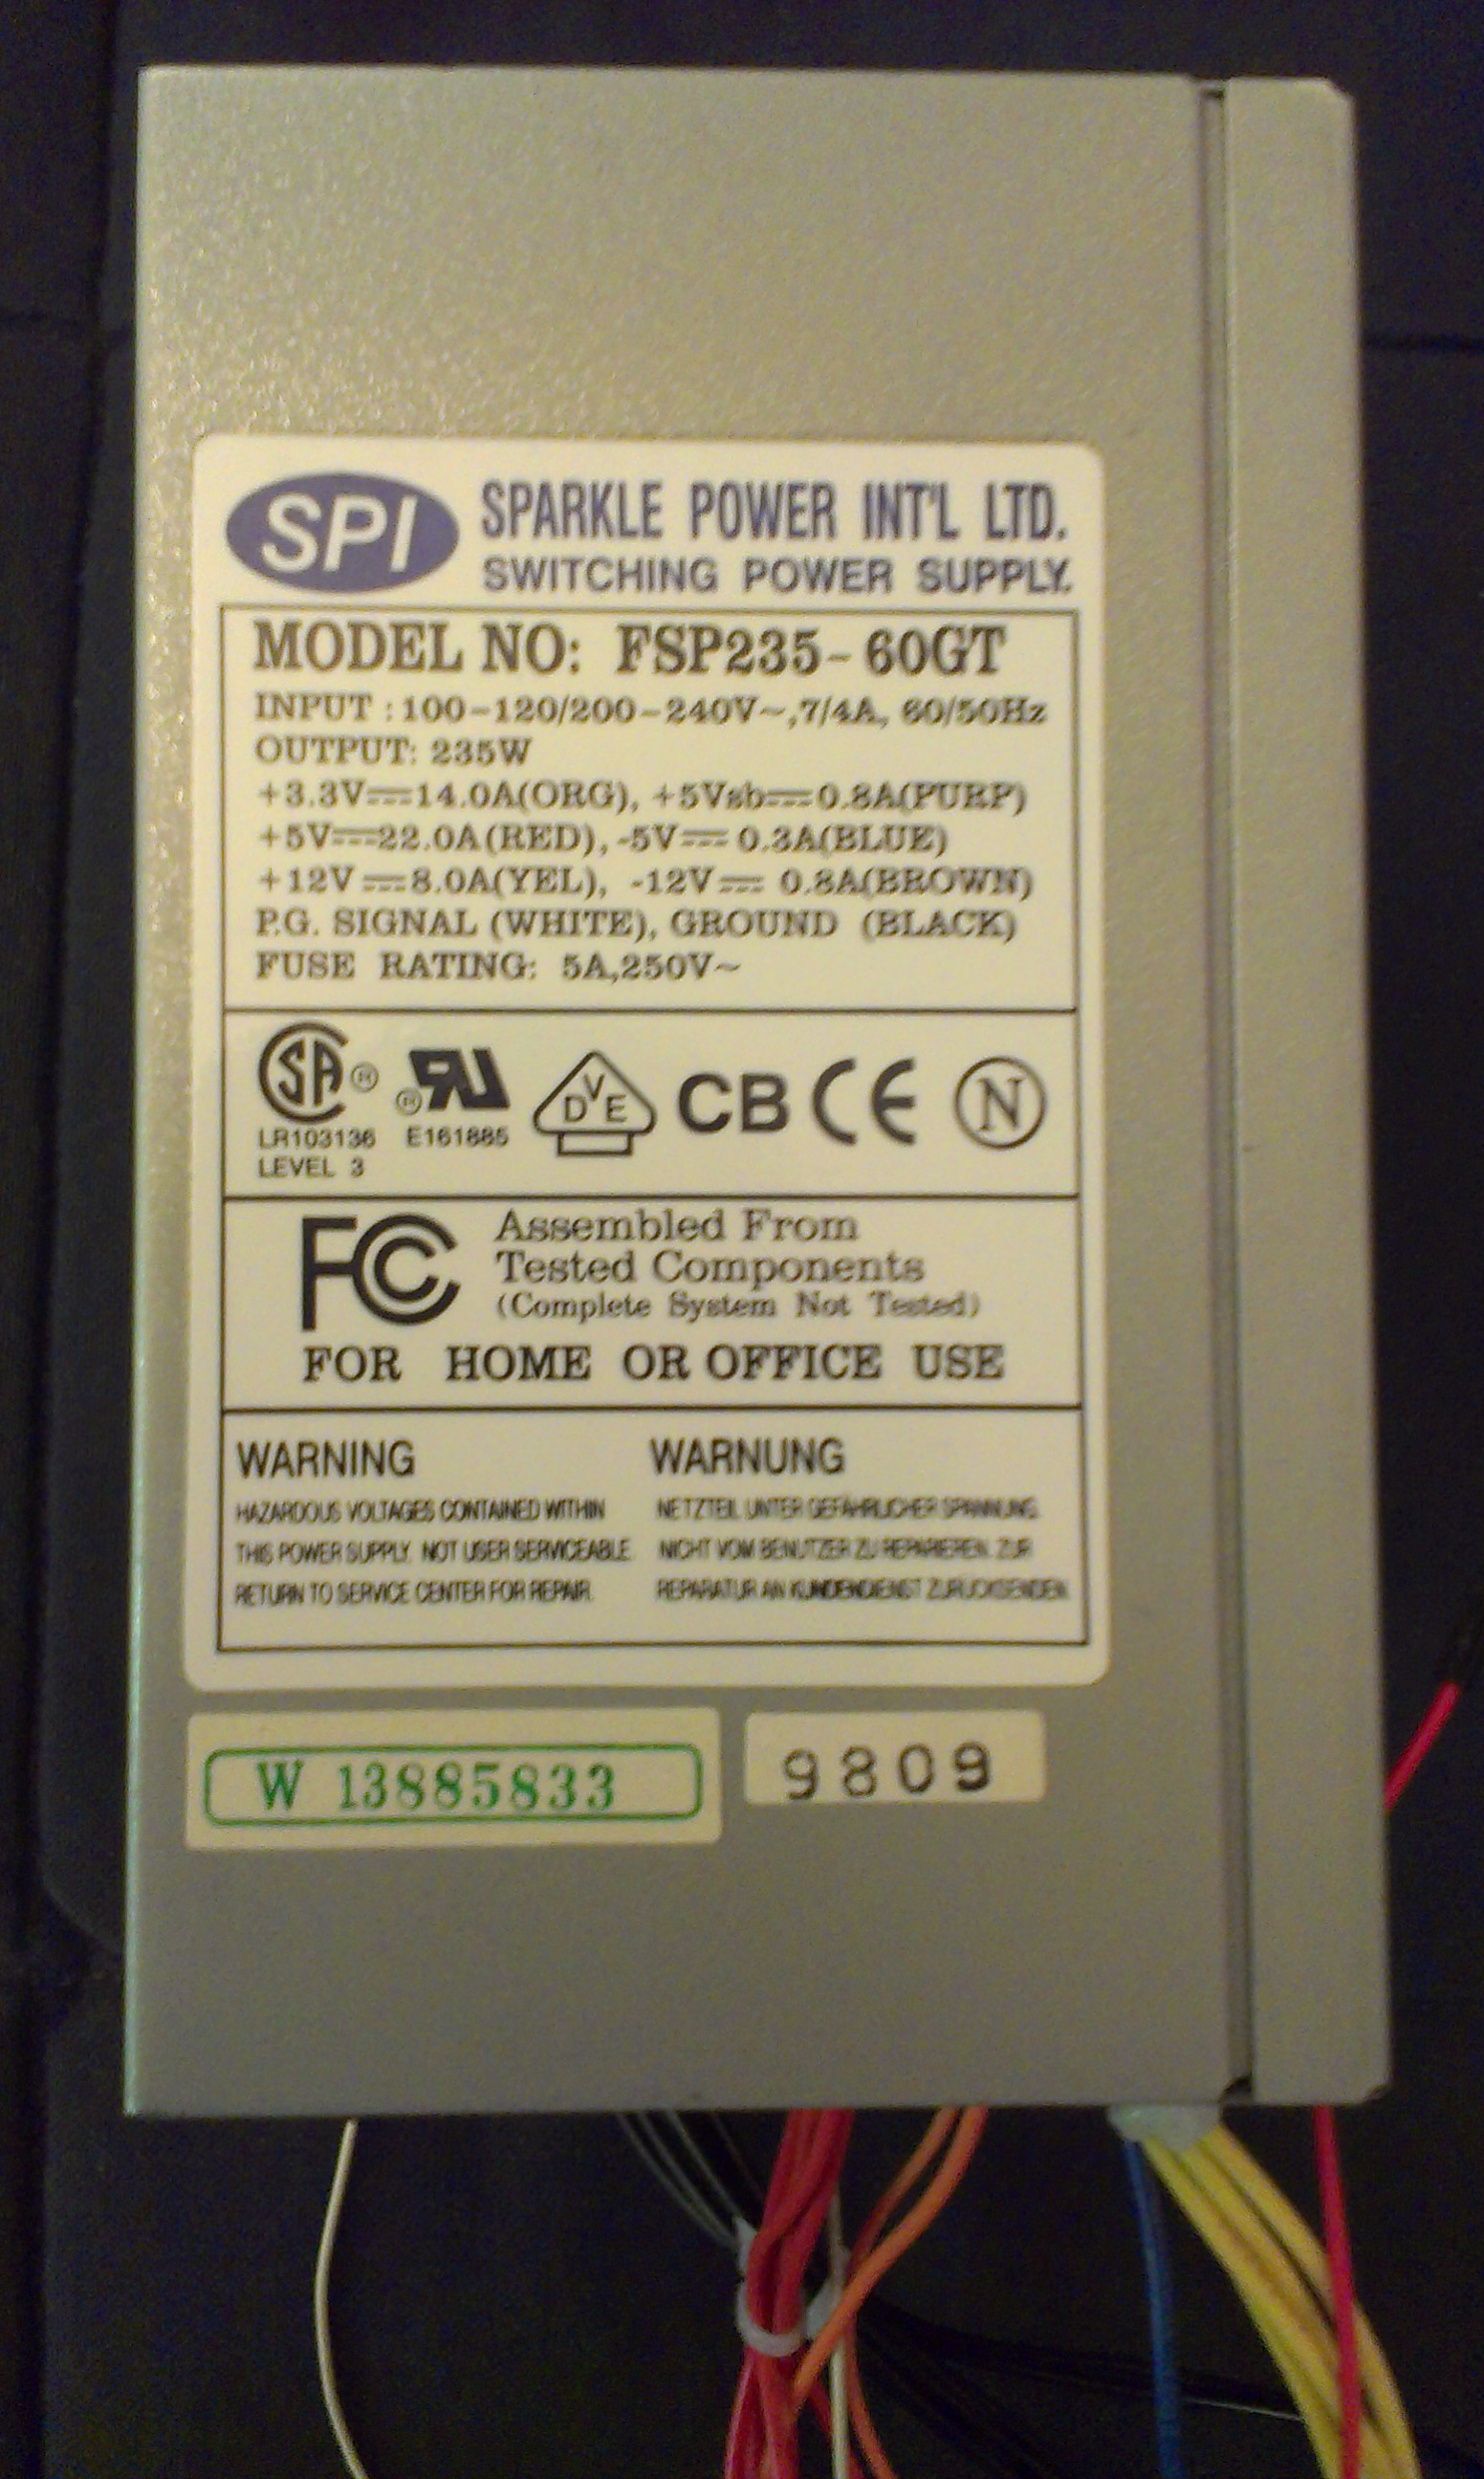
The front of the hacked power supply with labelled leads and power LEDs    The label shower the power supplies specs. This is an older, weaker one.

Octobot Chassis

Submitted by Jenn Case on Mon, 02/18/2013 - 09:14
Topics

Introduction

Octobot is the name of the robotic chassis that I do most of my testing on. It got it's name because it originally had eight wires sticking out because of the motors.

The picture to the right shows it in its unfinished form.  The front two wheels were removed and exchanged for a ball caster for manuverability. 

Once completed, the chassis makes an excellent inexpensive platform for an Arduino robot.