Backstory
I want to make a divergence meter. A divergence meter is not a real thing. It's a fictional device from Steins;Gate to tell if the worldline (timeline) has changed substantially from an original world line (the alpha) - following the time travel theory popularized by John Titor. If you've never seen the show, you might still be interested in how to wire up a longer string of displays to get 8 digits instead of being stuck with just 4.
Goals
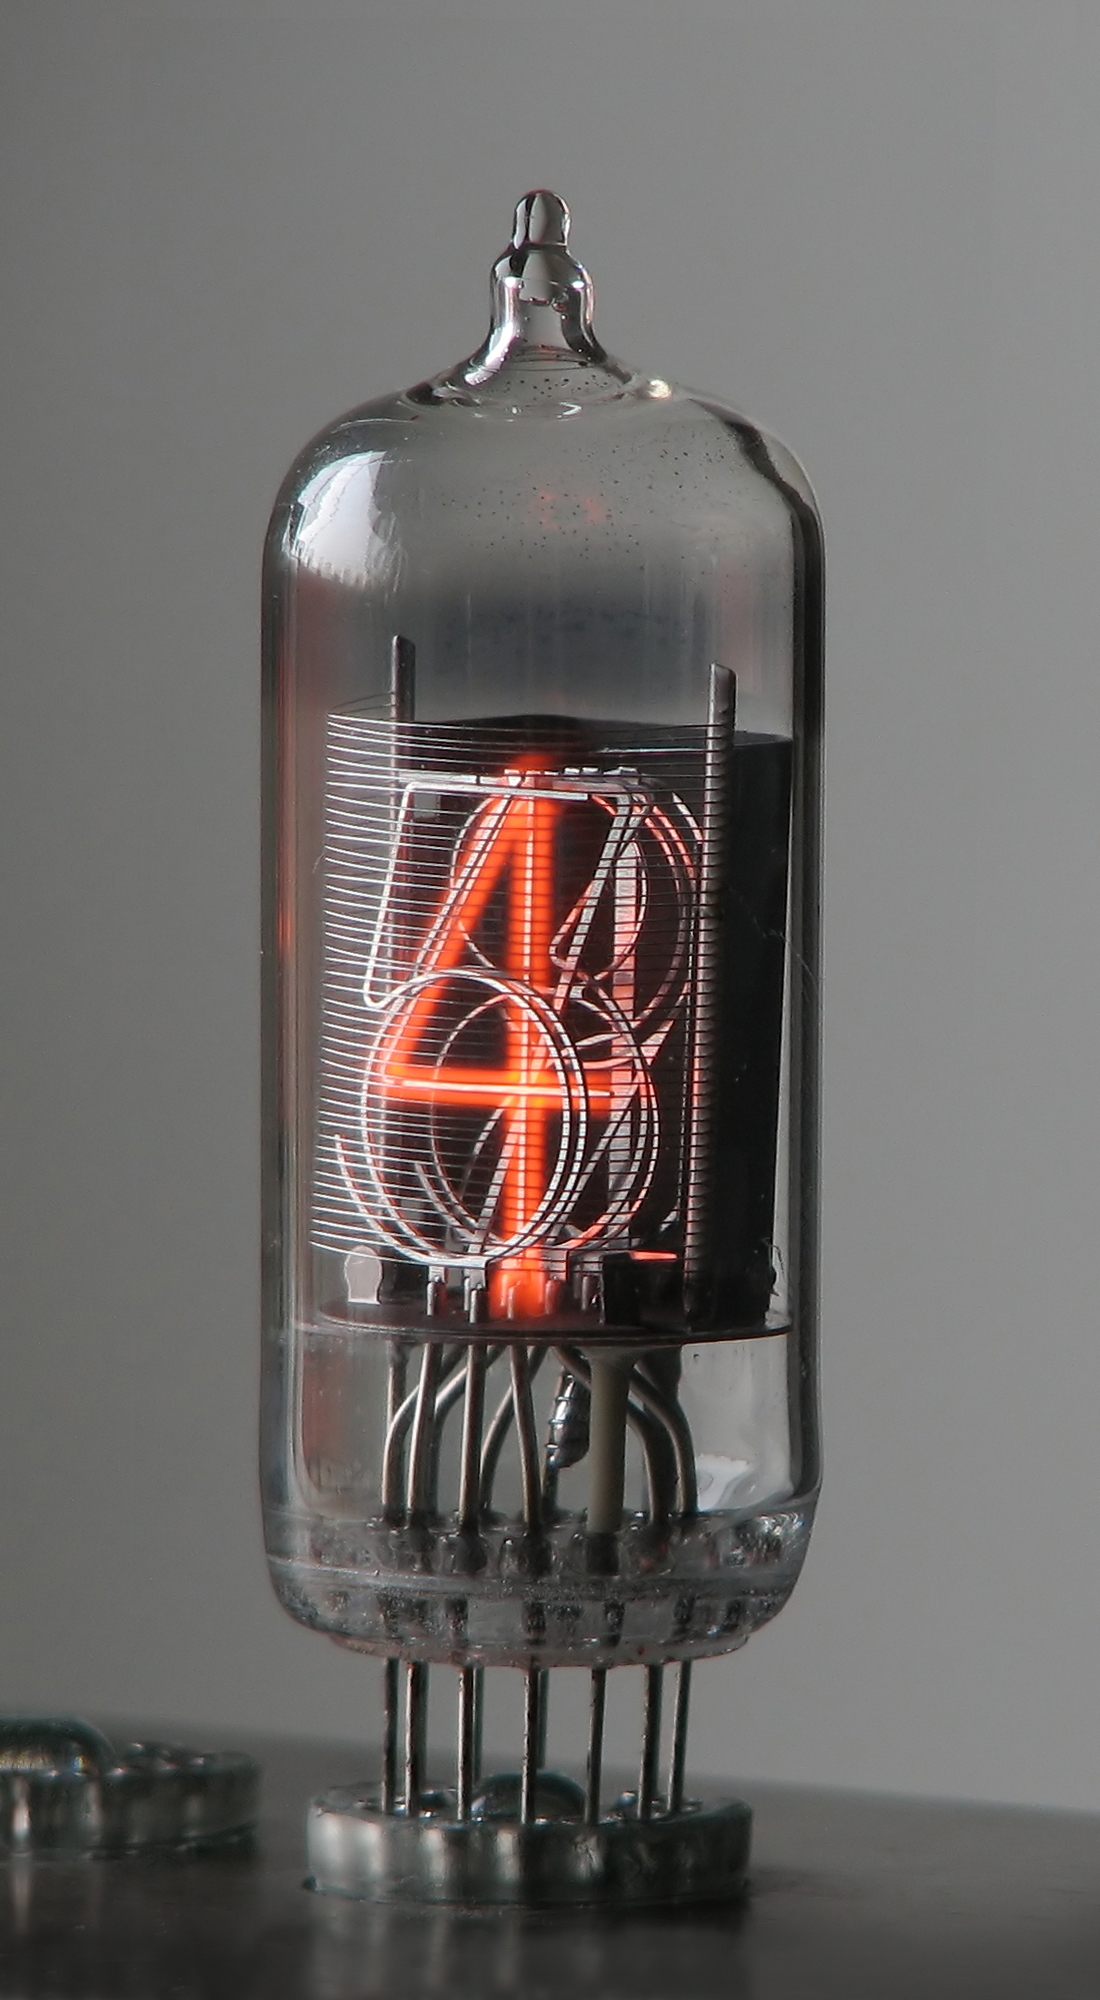
I'm not actually going to build a very accurate one. It turns out that that many Nixie tubes are kind of expensive (about $100), but you really should use them if you want to maintain authenticity. There are plenty of other tutorials on how to make one with nixie tubes, and you can even buy an offical one, which admittedly does not look all that accurate. The show specifically references Nixie tubes' cool factor, so it's really an important detail.
Also, it is obviously not going to be able to actually measure the attractor field, so it will instead randomly make up divergence values at random times. Also, according to canon, the divergence meter should cycle random numbers on the display quickly while the divergence number is changing for about a second.
To somewhat replicate its purpose, this system will change divergence number about once a day or perhaps longer. One could look to the divergence meter to try making a small change in their life. Very infrequently, the divergence number should jump to something above 1%. Larger numbers could be cause for celebration or trying larger changes in one's life.
Parts
If you choose to build yours with nixie tubes, your parts list will vary greatly from this, since you will also have to wire each segment to up seperately to your microcontroller, but also need to worry about power management. Nixie tubes need high voltage and low current, so switching segments on and off might require something like a high power shift register, or a logic level shifter to protect your Arduino microcontroller.
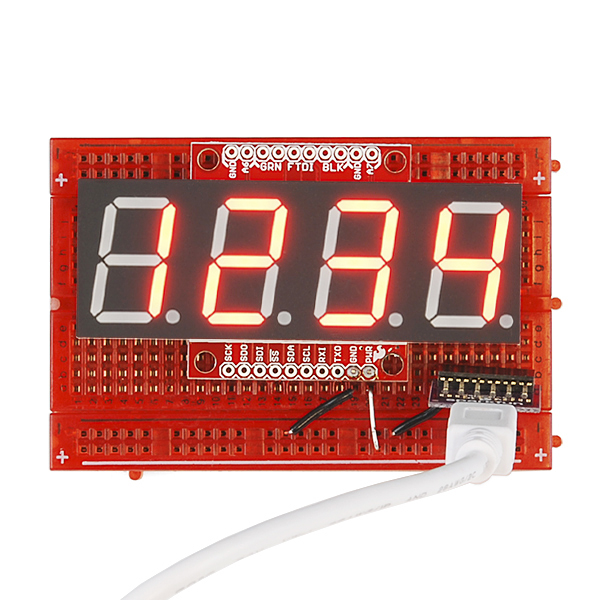
- 2x OpenSegment Serial Displays 20mm or 12.8mm (Sparkfun, $17ea)
- Hard Wire (8 segments)
- Arduino Micro without headers (Adafruit, $23)
- Enclosure for two displays side by side and a micro
- should leave micro USB port exposed or use a panel mount
The above parts list assumes you will want to solder the whole thing together permanently.
The total cost for this project, without using nixie tubes, is only about $57 plus whatever you use to make the case with. It is substantially safer, cheaper, and easier to make.
Wiring
The wiring here could not be easier if you're using the serial seven segment displays. The nixie tubes, however, will be nightmarish and will probably require making your own printed circuit board (PCB) to keep your sanity and to keep the device compact.
Change the i2c Address
Only hook up the first seven segment display. If you keep both on, you will have a problem due to the fact that both of the displays have the same address. So, both would react to the same commands. Fortunately, it can be easily changed with the right command code (0x80). By default, the address is 0x71. Change the address of the first display to just about anything but that. So, with just one display connected, run this:
#include <Wire.h>
void setup() {
  Wire.beginTransmission( 0x71 );   // Start I2C transmission to first display
  Wire.write( 0x80 );               // I2C Address Config command
  Wire.write( 0x42 );               // Set 7-bit address to 0x42
  Wire.endTransmission();           // Stop I2C transmission
}
void loop() {}
Connections
You will probably want to solder these connections instead of using headers and pins because it will save space and cost. However, it will make the changes somewhat more permanent. On the bright side, if you later decide you don't want a divergence meter, you can actually have it display just about anything - like the time perhaps.
To hook up these displays, simply connect the SDA and SCL pins on the Arduino Micro microcontroller to the SDA pin on the SDA and SCL pins on the display respectively. Likewise, connect the 5V from the Arduino to the + on the display, and the GND on the Arduino to the - on the display. Again, only do this for the one display.
Once you change the address of the first display, you can actually hook the other display up to the same wires. It might sound weird at first, but that's how i2c works. Check the sparkfun tutorial and see for yourself. The smaller serial7segment displays have a +,-,SDA, and SCL pin on each side to pass the connection through to the next one easily. You can do this yourself with just some wire though.
Code
#define DISPLAY1 0x71
#define DISPLAY2 0x42

#include <Wire.h>

unsigned long divergence = 337187; //or 409031
// displayed as:         0.337187

//Given a string, i2cSendString sends the first four characters over i2c
void i2cSendString(char *toSend, int addr) {
  Wire.beginTransmission(addr); // transmit to device #1
  for(byte x = 0 ; x < 4 ; x++) {  // for each of the 4 characters
    Wire.write(toSend[x]);         // Send the character from the array
  }
  Wire.endTransmission();          // Stop I2C transmission
}

void updateDisplay() {
  char first[5];
  char second[5];

  snprintf( first , 5, "%05d", divergence / 10000UL ); //pad with 0
  snprintf( second, 5, "%05d", divergence % 10000UL ); //pad with 0

  //move the second number to first place, then replace with space
  //it looks weird, but that's how the divergence meter is in the show
  first[0] = first[1];
  first[1] = ' ';

  i2cSendString(first , DISPLAY1);
  i2cSendString(second, DISPLAY2);

  Serial.print(first);
  Serial.println(second);

  // write the decimal place
  Wire.beginTransmission(DISPLAY1); // transmit to device #1
  Wire.write( 0x77 );               // send decimal command
  Wire.write( 1 << 3 );             // send the place using bitshift
  Wire.endTransmission();           // Stop I2C transmission
}

void newNumber() {
  // small percent chance to break divergence barrier
  if ( random(0, 100) < 5 ) {
    divergence = random(1000000UL, 1409031UL);
  }

  divergence = random(0UL, 999999UL);

  updateDisplay();
}


// when the divergence number changes
// the divergence meter cycles numbers randomly
// until a new number stabilizes

void changingNumber() {
  for( int cycle = 0; cycle < 100; ++cycle ) {
    divergence = random(0, 9999999UL);
    updateDisplay();
    delay( 30 );
  }
}

void setup() {

  // read the noise for some randomness
  // if analog input pin 0 is unconnected, random analog
  // noise will cause the call to randomSeed() to generate
  // different seed numbers each time the sketch runs.
  // randomSeed() will then shuffle the random function.
  randomSeed(analogRead(0));

  Serial.begin(19200); //for debugging
}

//increase this if you're impatient to change the divergence number
#define tdivider 10000UL
void loop() {

  changingNumber();
  newNumber();

  unsigned long wait = random(43200000UL , 604800000UL)  / tdivider;
  Serial.print("Waiting ");
  Serial.print(wait);
  Serial.println(" milliseconds before number change");

  delay(wait); // 12 hours to a week

}


