
Topics
Introduction
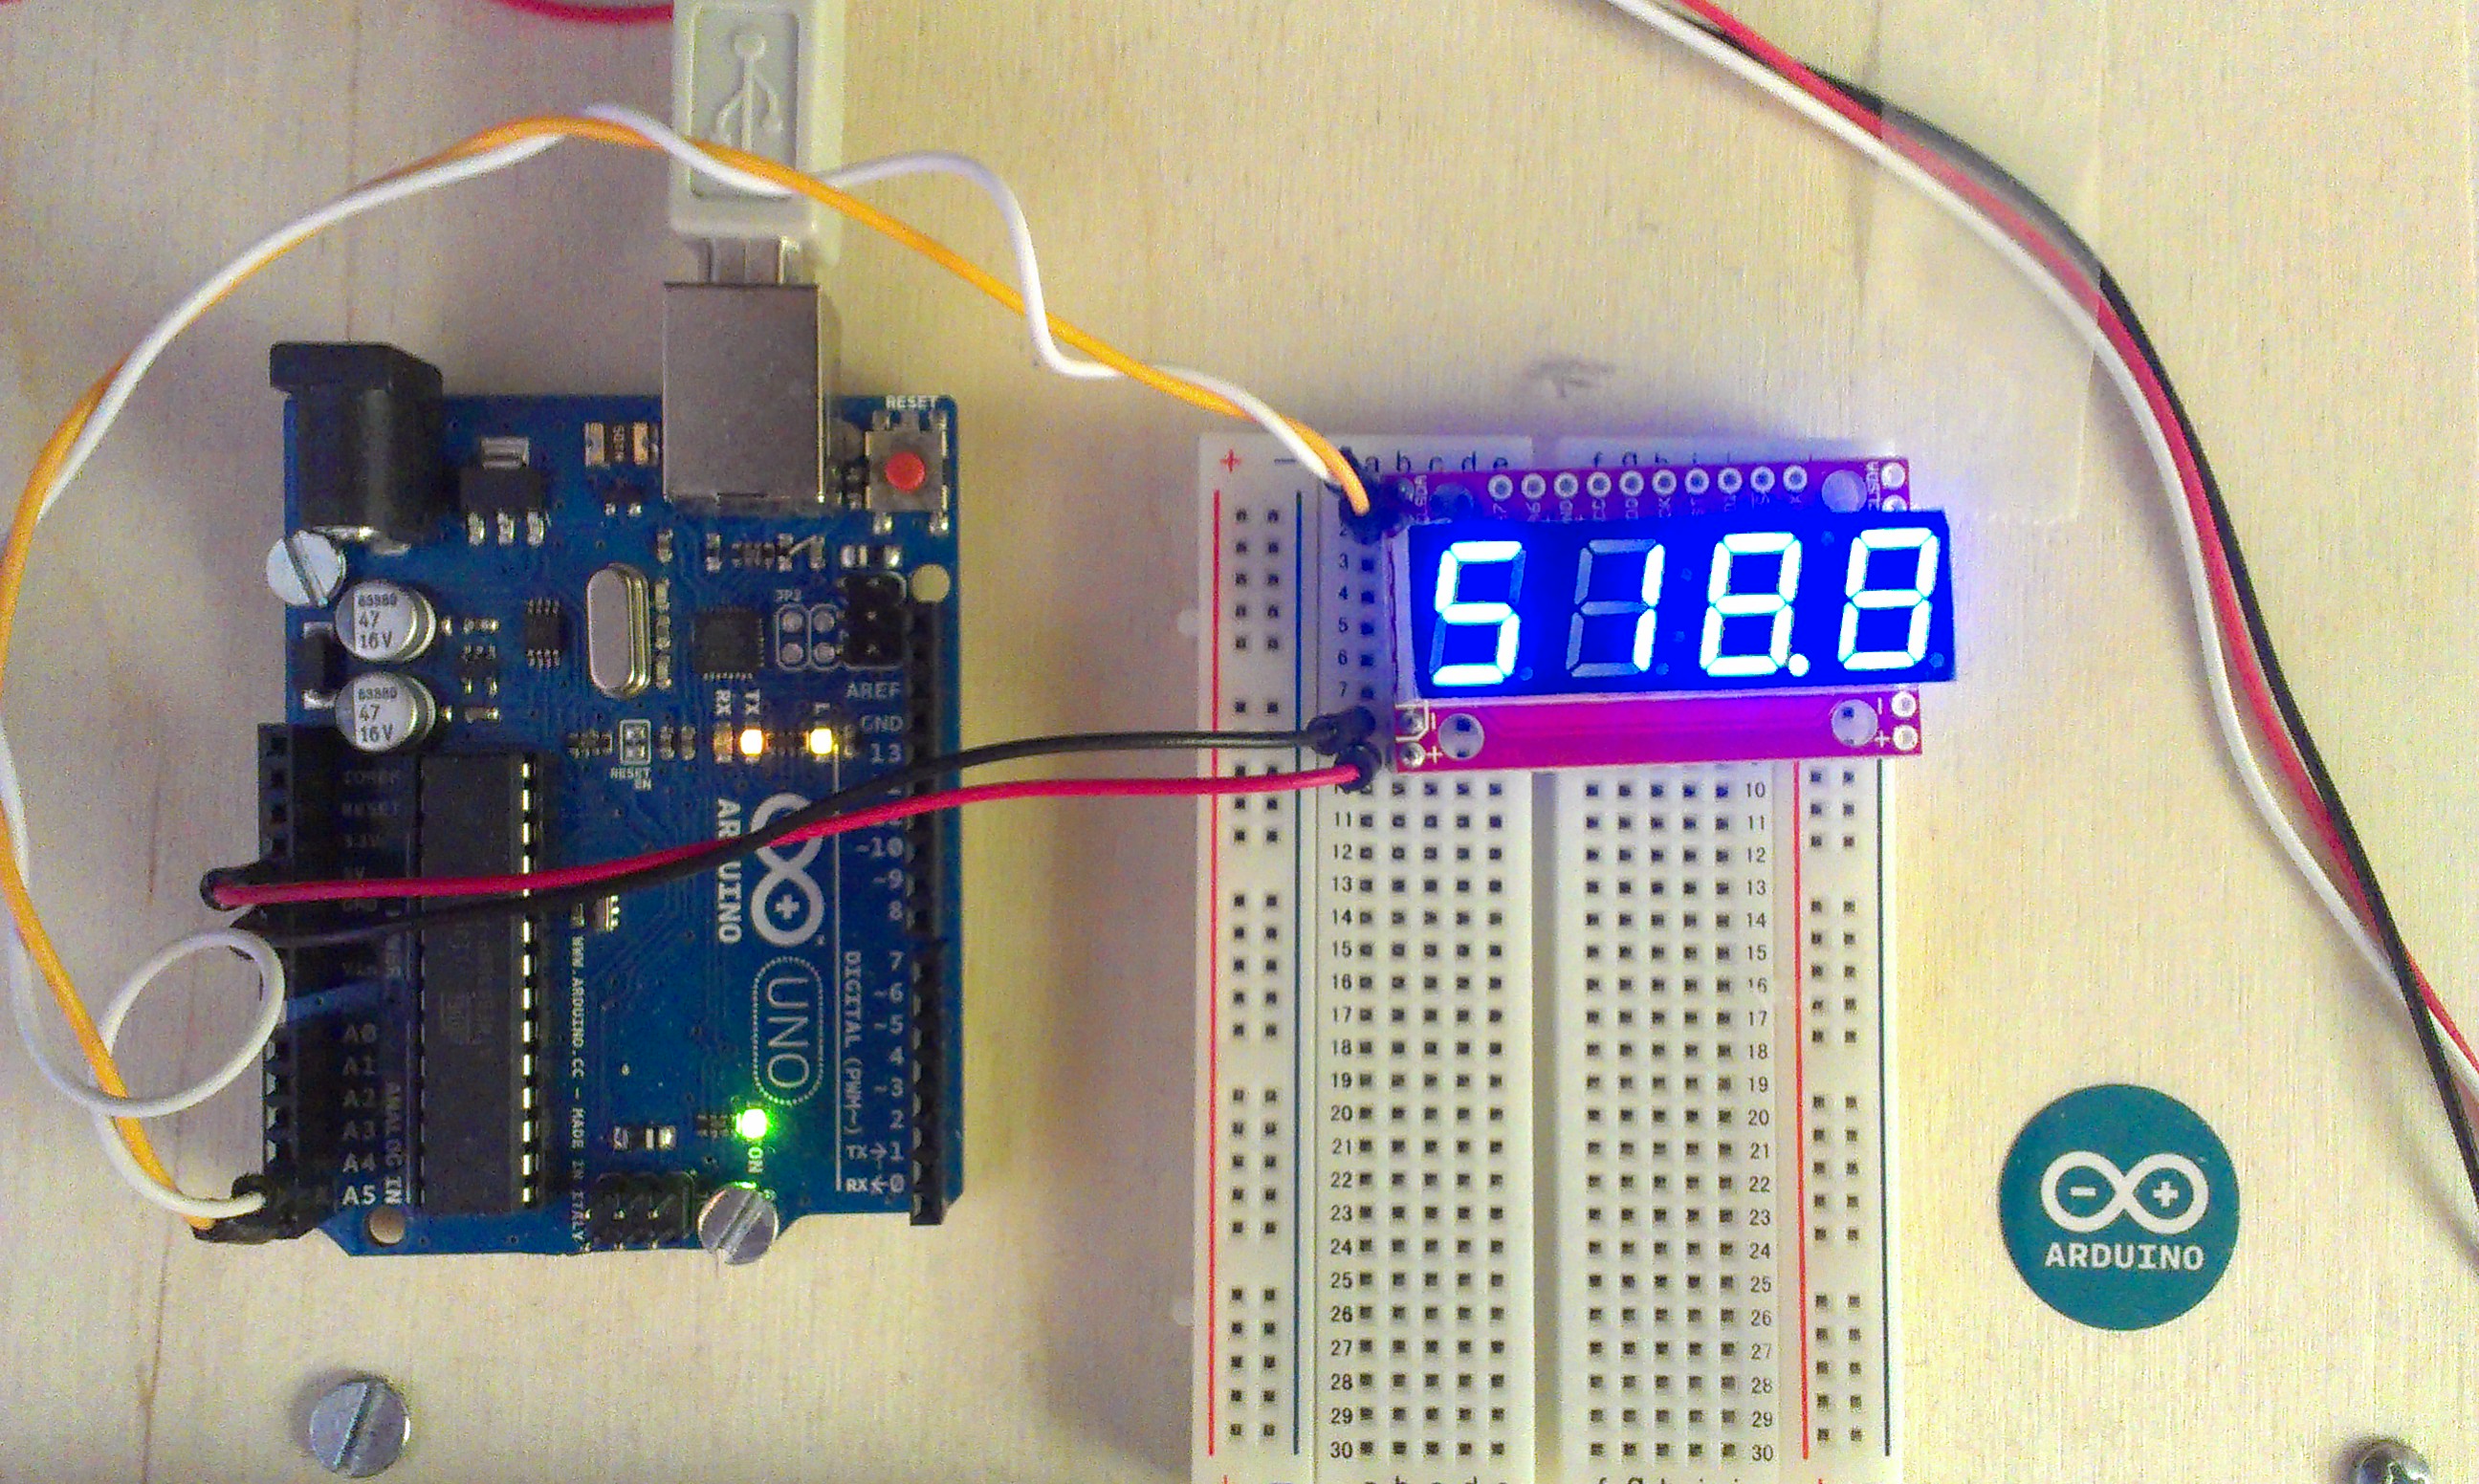
These seven segment displays are managed by an extra Arduino embedded in them. As a result, far less wiring and code is required for your project, since it is all encapsulated in this nice package. Here is the finished project:
Basic Wiring (I2C)
| Arduino | Serial7Segment |
|---|---|
| A5 | SCL |
| A4 | SDA |
| 5V | + |
| GND | - |
The wiring is really straightforward. On the top sides there is an SDA and SCL, which go to A4 and A5 respectively on your Arduino Uno. If you are using a different Arduino, check the documentation on the Wire library to see which pin you should use.
On the bottom sides, there is a plus and minus, which should be hooked up to the 5V and GND pins respectively on your Arduino.
Basic Code
I based my code on the public domain code posted by sparkfun. I added:
- Number formatting (space padded to the right)
- Use snprintf to handle overflows
- Funciton for decimal printing using floats
- Beware! Floats on Arduino are really innacurate. I get 0.01 error on just a 3 digit number!
/* Serial7Segment is an open source seven segment display.
 To get this code to work, attach a Serial7Segment to an Arduino Uno using:
 A5 to SCL
 A4 to SDA
 VIN to PWR
 GND to GND
*/

#include <Wire.h>

#define APOSTROPHE  5
#define COLON       4
#define DECIMAL4    3
#define DECIMAL3    2
#define DECIMAL2    1
#define DECIMAL1    0

//This is the default address of the OpenSegment with both solder jumpers open
#define DISPLAY_ADDRESS1 0x71

void setup()  {
  Wire.begin();       //Join the bus as master

  Serial.begin(9600); //Start USB serial communication at 9600 for debug prints

  //Send the reset command to the display
  //this forces the cursor to return to the beginning of the display
  Wire.beginTransmission(DISPLAY_ADDRESS1);
  Wire.write('v');
  Wire.endTransmission();

  //High Brightness
  Wire.beginTransmission(DISPLAY_ADDRESS1);
  Wire.write(0x7A);         // Brightness control command
  Wire.write(100);          // Set brightness level: 0% to 100%
  Wire.endTransmission();
}


float cycles = 0.0;         // TEST DECIMAL SENDING
void loop() {
  cycles+= 0.1;             // increment decimal
  Serial.print("Cycle: ");
  Serial.println(cycles);

  i2cSend(cycles);          //Send the decimal to the display

  delay(1);                 //a very small delay to prevent flickering
}

void i2cSend(float numberToPrint) {
    int decimalPlace = -1;

    //find decimal place, fix the position of leftmost digit to the left
    if ( numberToPrint < 0 ) {
        i2cSend( int( numberToPrint * 100 ) );
        decimalPlace = DECIMAL1;
    }
    else if ( numberToPrint < 10 ) {
        i2cSend( int( numberToPrint * 1000 ) );
        decimalPlace = DECIMAL1;
    }
    else if ( numberToPrint < 100 ) {
        i2cSend( int( numberToPrint * 100) );
        decimalPlace = DECIMAL2;
    }
    else if ( numberToPrint < 1000 ) {
        i2cSend( int( numberToPrint * 10) );
        decimalPlace = DECIMAL3;
    }
    else {
        i2cSend( numberToPrint );
    }

    if ( decimalPlace != -1 ) {
        Wire.beginTransmission(DISPLAY_ADDRESS1); // transmit to device #1
        Wire.write( 0x77 );                       // send decimal command
        Wire.write( 1 << decimalPlace );          // send the place using bitshift
        Wire.endTransmission();                   // Stop I2C transmission
    }
}

//Given a number, chop up an integer into four values and sends them over I2C
void i2cSend(int numberToPrint ) {

  // use snprintf. It will align the number to the right of the string
  // snprintf truncates the number after the first few digits
  char str[5];
  snprintf(str, 5, "%4d", numberToPrint);

  i2cSendString( str );

  // the number is too big - mark that it was cut off.
  if ( numberToPrint > 9999 ) {
      Wire.beginTransmission(DISPLAY_ADDRESS1);   // transmit to device #1
      Wire.write( 0x77 );                         // send decimal command
      Wire.write( 1 << APOSTROPHE );              // indicate an "overflow"
      Wire.endTransmission();                     // Stop I2C transmission
  }
}

//Given a string, i2cSendString sends the first four characters over i2c
void i2cSendString(char *toSend) {
  Wire.beginTransmission(DISPLAY_ADDRESS1); // transmit to device #1
  for(byte x = 0 ; x < 4 ; x++)             // for each of the 4 characters
    Wire.write(toSend[x]);                  // Send the character from the array
  Wire.endTransmission();                   // Stop I2C transmission
}
Documentation
Here are some other links to SparkFun's documentation:
- Product Page: https://www.sparkfun.com/products/11442
- Tutorial: http://www.sparkfun.com/tutorials/407
- Code: https://github.com/sparkfun/Serial7SegmentDisplay
Disqus