Mission

To provide a learning environment and to assist in robotics projects or really just any hobby related to engineering. There are lessons, project tutorials, and even sensor documentation with usage examples.

Images from Posts

Using Node.js as a web server
A screenshot of the main page, which is the static form.html file, A screenshot of the dynamically generated response to the form.
A screenshot of the dynamically generated response to the form.
Using Node.js as a web server
A screenshot of the main page, which is the static form.html file, A screenshot of the dynamically generated response to the form.
A screenshot of the main page, which is the static form.html file
LCD - Sainsmart HD44780 / LCD2004
Overview, lights off, Back side, Backlight
Back side
LCD - Sainsmart HD44780 / LCD2004
Overview, lights off, Back side, Backlight
Overview
LCD - Sainsmart HD44780 / LCD2004
Overview, lights off, Back side, Backlight
lights off
LCD - Sainsmart HD44780 / LCD2004
Overview, lights off, Back side, Backlight
Backlight
  • 0
  • 1
  • 2
  • 3
  • 4
  • 5
  • 6
  • 7
  • 8

Categories

Character Array to Float

Submitted by Jenn Case on Mon, 02/18/2013 - 08:48

Introduction

Sometimes it is necessary to turn character arrays into floats. However, precision can be an issue when using some of the current functions. The following function turns character arrays into a float that is split from the front half and the back half. This is one method for a more precise float.

Splitting a String

Submitted by Jenn Case on Mon, 02/18/2013 - 08:44

Introduction

There are times when a string is recieved, but rather than the entire string, just a piece of the string is desired. Unfortunately, there does not appear to be a simple way to handle strings in C++. Therefore, I have devised a way to split a string based on comma separation.

This way of splitting strings is rather crude and refinement for it will be worked on, but for immediate use, the current function is given with two examples of how it can be altered and used.

Reading Numbers From Serial

Submitted by Evan Boldt on Sun, 02/17/2013 - 17:32

Introduction

Reading numbers from serial on an Arduino is needed surprisingly commonly. Exactly what is happening might be kind of hard to figure out.

Serial

Serial communication is digital, which means all data is transmitted in 1's and 0's. Typically, serial communication is done using ASCII letters. This means that, to send a number to the Arduino, the data sent is not the binary version of the number in base 2 (as an integer), but instead a sequence of characters for each digit in base 10 (which is human-readable). It is not an efficient use of bandwidth, but bandwidth is not usually a problem with Arduinos connect by USB.

Long based Decimals

Submitted by Evan Boldt on Sat, 02/16/2013 - 14:58

Introduction

Arduino has floats that are only accurate to about 6-7 digits. When combined with the fact that floats cannot represent certain decimal values well ( like .1 or .3 ) because they are expressed as negative powers of base 2, you may often see error - especially when full value is printed, or the output is truncated instead of rounded.

I have written a class here that basically stores a whole number into a long. Similar to a float, there is even an "exponent" field that says where the decimal point is in the whole number. Unlike a float, operations are done in base 10 (onto a base 2 number). In exchange for the flexibility of true floating point number in the range of possible values, we gain greater precision in the nearer to zero area - the area firmly within the range of the long (-2,147,483,648 to 2,147,483,647). The smaller the left hand side (LHS) of the decimal place is, the more precision is available for the right hand side (RHS) of the decimal. 

GP2Y0A02YK Infrared Sensor in Real Distance

Submitted by Evan Boldt on Fri, 02/08/2013 - 14:12
Topics

Introduction

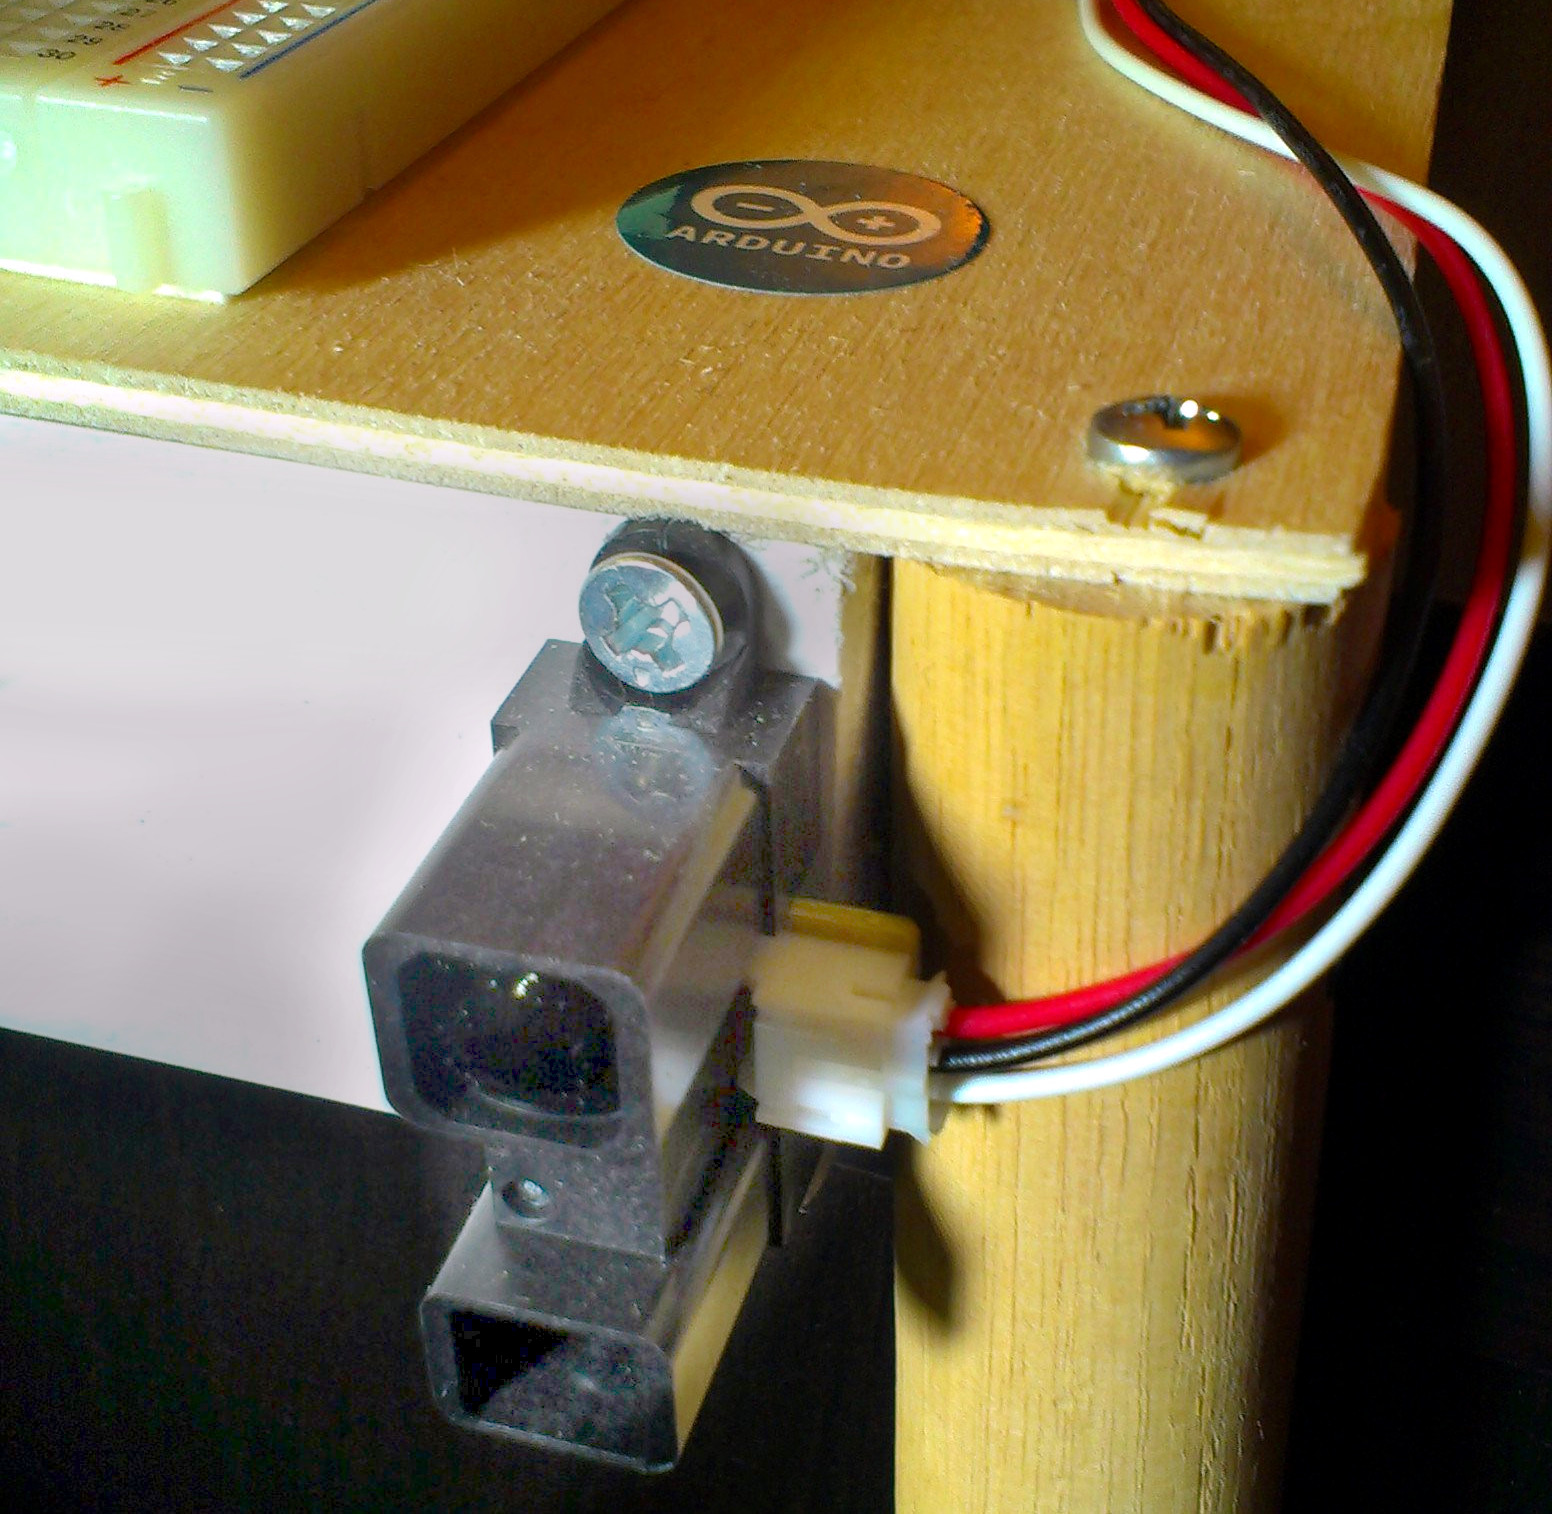
This is a longer range version of the GP2Y0D810 Infrared Sensor. They're about 15$, and work fairly well for distances between 0.5 meters and 1.5 meters. It is important to note that the distance to voltage curve is not linear. So, if you want the real distance, measured in mm, you'll need to come up with a best fit curve based on some experimental data.

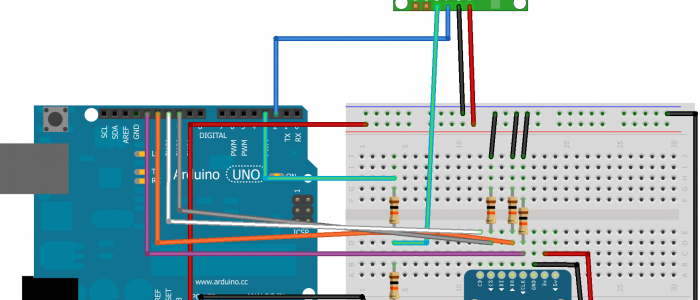
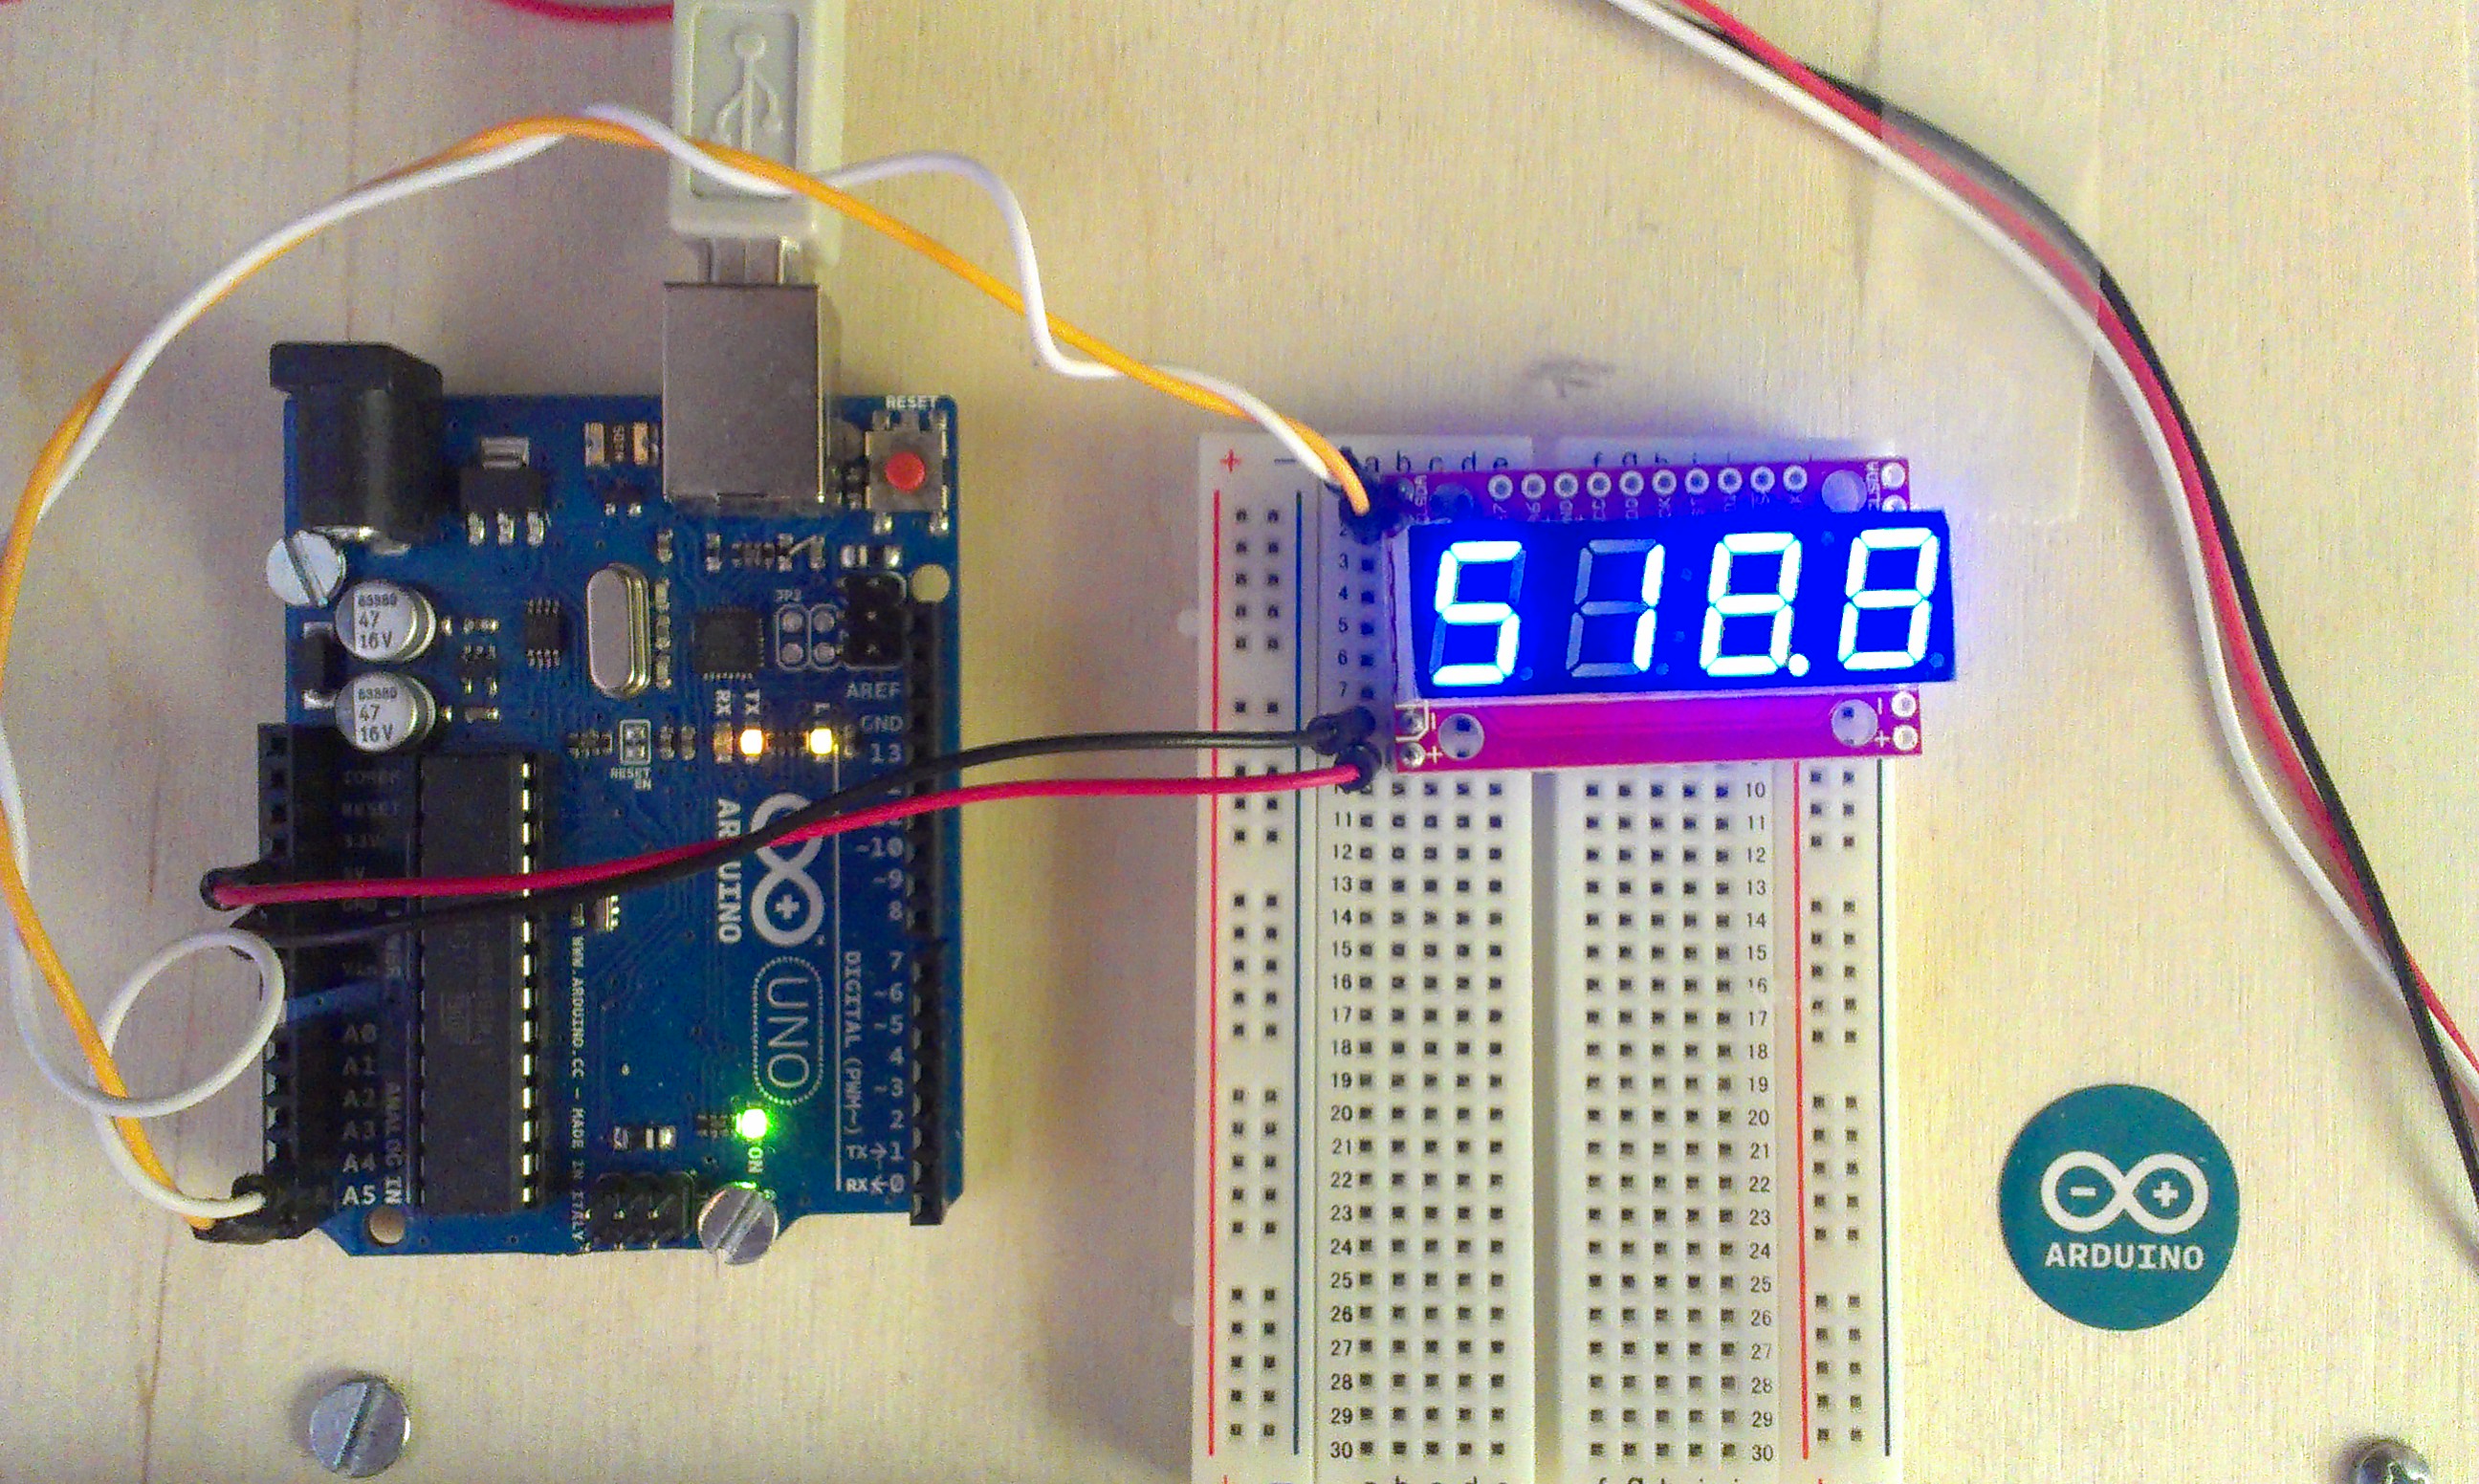
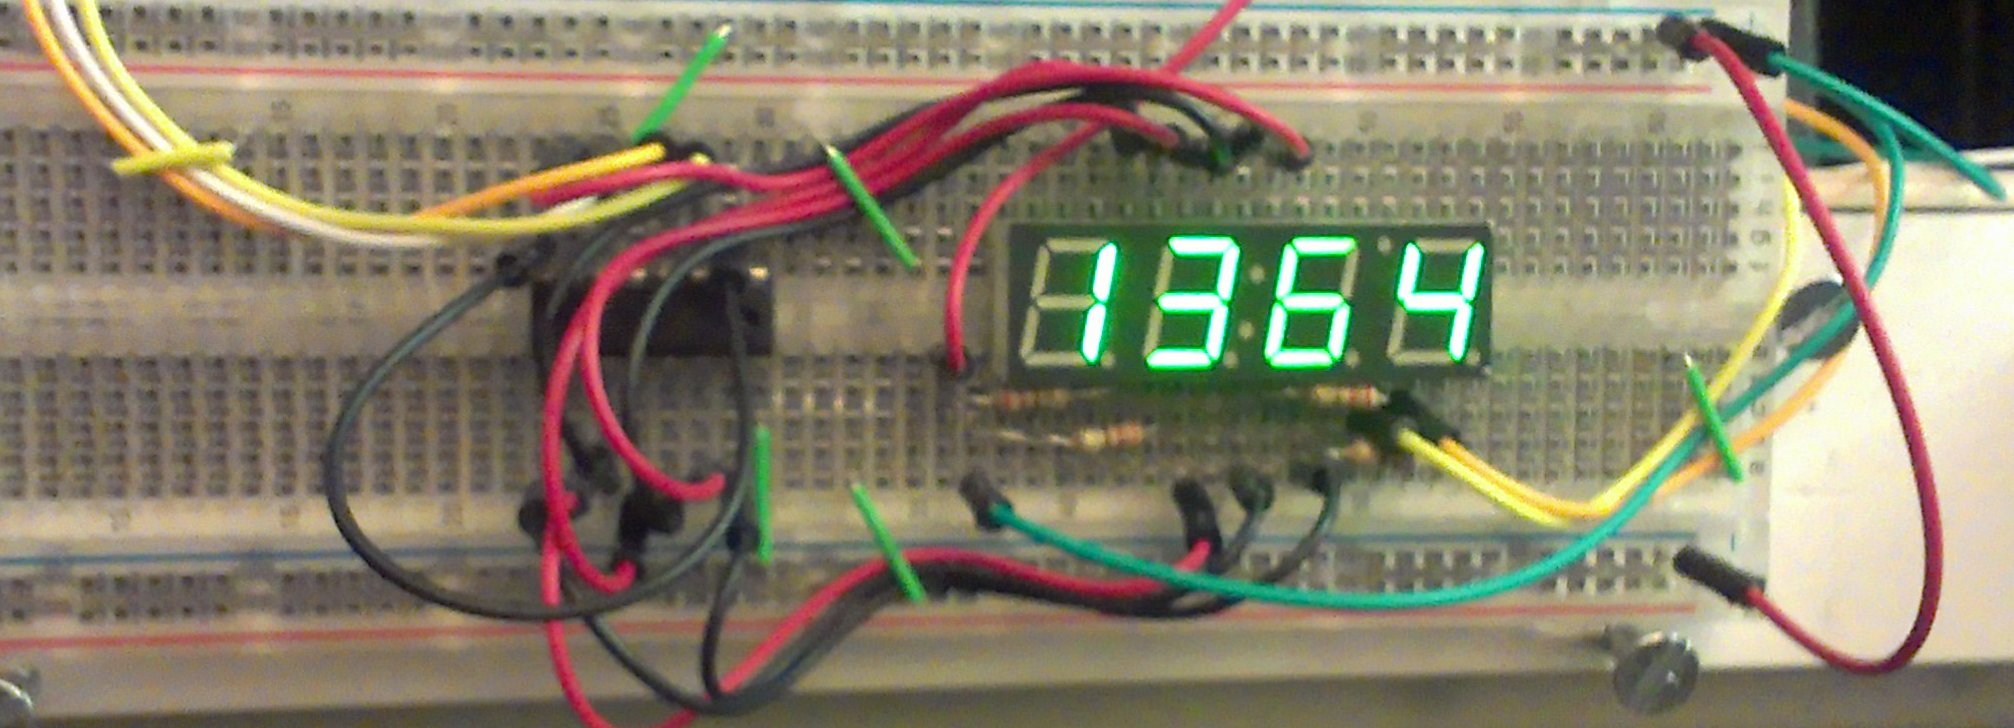
Like the midrange version, the wiring is easy. Red goes to +5V, Black goes to GND, and white goes to an analog pin (in my case A0). You can even hook multples of them up as long as you use a seperate white to analog pin.

Again, IR does not the same on all surfaces. It depends on their reflectivity. For example, black surfaces tend to appear to be really far away since they don't bounce back much light. So, when you gather your data to make a best fit curve, you should use a surface similar to the one you plan on detecting.

Build Arduino Sketches from CLI with Make

Submitted by Evan Boldt on Fri, 02/08/2013 - 13:10

Reasons

The Arduino IDE has a lot of nice features. It's so easy, it's really one of the main reasons why you would choose to buy an Arduino over other options. It can be annoying sometimes though. If you want to distance yourself from the IDE, but still like the Arduino plaform, it's really as easy as just making a really simple text file and running "make".

By getting a command line interface, you can also automate the build and upload process. You can detect ports, or upload to multiple Arduinos at once.

Python Web UI with Tornado

Submitted by Evan Boldt on Fri, 02/08/2013 - 12:10
Topics

Introduction

So, you want a GUI for your robot. Sure, you could make a nice GUI in Python with Tkinter, but there are some really good reasons to try it as a website instead:

  • A web GUI can be accessed from almost any location
  • A well-designed web GUI can be used on almost any device like a tablet or a phone
  • HTML, CSS, and Javascript are well documented, powerful, and very flexible
  • HTML can be easily made to look very nice

There are some drawbacks to implementing your GUI as a website though:

  • It is only able to start communication one-way (browser to server, server responds)
    • Great for buttons and other input
    • Requres continuous polling or a commet to get data to be pushed to the browser
  • It adds another "layer" of complexity to your code
    • Several different languages (C++ on Arduino, Python Server, and HTML+CSS+Javascript in browser)
    • The server has to relay information from the browser to the robot

Kernel - Event driven Delays and Intervals

Submitted by Evan Boldt on Thu, 02/07/2013 - 22:37
Topics

Reasons to use Kernel

delay() is Bad

When you use delay or delayMicroseconds in Arduino, nothing else can happen until the delay is finished, which can be a huge problem if you have more than one thing going on simulteneously, as will always be the case when building a more advanced robot.

Imagine that you want to check a sensor once a second. Easy enough. Just delay then check the sensor. What if you want to blink an LED on and off every 40ms, but still checking that sensor. Any delays used by one will mess up the timing on the other. If you delay one second after checking the sensor, the light will not blink during that time. You could make a fixed number of blinks between sensor checks, but that is inflexible and accumulates error.