Python

Python GUI broken into multiple files

Submitted by Evan Boldt on Sun, 07/15/2018 - 23:08
Topics

TkInter GUIs can get extremely long very quick. Fortunately they can be split into multiple files - especially if you give them a class wrapper. The important thing is that you pass the relavent parent elements so more widgets can be inserted into the frame or window.

The below example shows how to take the previous python GUI example and break it into multiple files using Python modules.

Arduino Sketcher

Submitted by Jenn Case on Thu, 07/04/2013 - 07:18

Introduction

I had gotten a joystick a while ago and wanted to do something different and interesting with it. After coming up with and discarding a bunch of other ideas, I came up with the Arduino Sketcher. The ideas was to make something similar to an Etch-a-Sketch but uses the joystick instead of two dials. The computer would serve as the sketching pad while to Arduino relayed all the commands sent by the user. This project uses both Arduino and Python and turned out to be fairly simple to implement.

BeagleBone Black with Angstrom

Submitted by Evan Boldt on Sun, 06/02/2013 - 02:52

Introduction

Angstrom Linux is what ships on the BeagleBones. It's kind of terrible because I think everyone when they first get it will say, oh I should run opkg upgrade so that everything is up to date. Guess what? That breaks the boot. It won't startup anymore. I don't know how to fix it or what goes wrong. You'll get three LED's on, no USB connection on either the mass media or network, and it'll never come online on the LAN because it won't start up. 

If you want things to be up to date, you may want to install Ubuntu.

On the other hand, it is pretty lightweight and is pre-configured in a lot of ways that other distros don't have by default. For example, the cloud9 editor is kind of nice.

Installing Images

Whether you have a BeagleBone or BeagleBone Black, you can use the Angstrom-Cloud9-IDE-GNOME-eglibc-ipk*.img.xz

They both run ARM7 and the image has the NEON optimization. The image for the BeagleBone Black might have additional features, but it's the same Angstrom with less features as far as I can tell.

sudo su
xz -cd ./Angstrom-Cloud9-IDE-GNOME-****.img.xz > /dev/sdd

BeagleBone

Submitted by Evan Boldt on Sat, 06/01/2013 - 17:44

Introduction

The BeagleBone Black is a $45 Linux desktop / microcontrollerThe BeagleBone is like a combination between a microcontroller (like Arduino) and a small Linux desktop. It is most similar to a Raspberry Pi, but with more pinouts and a faster processor.

BeagleBone Black with Ubuntu

Submitted by Evan Boldt on Tue, 05/28/2013 - 22:13

Introduction

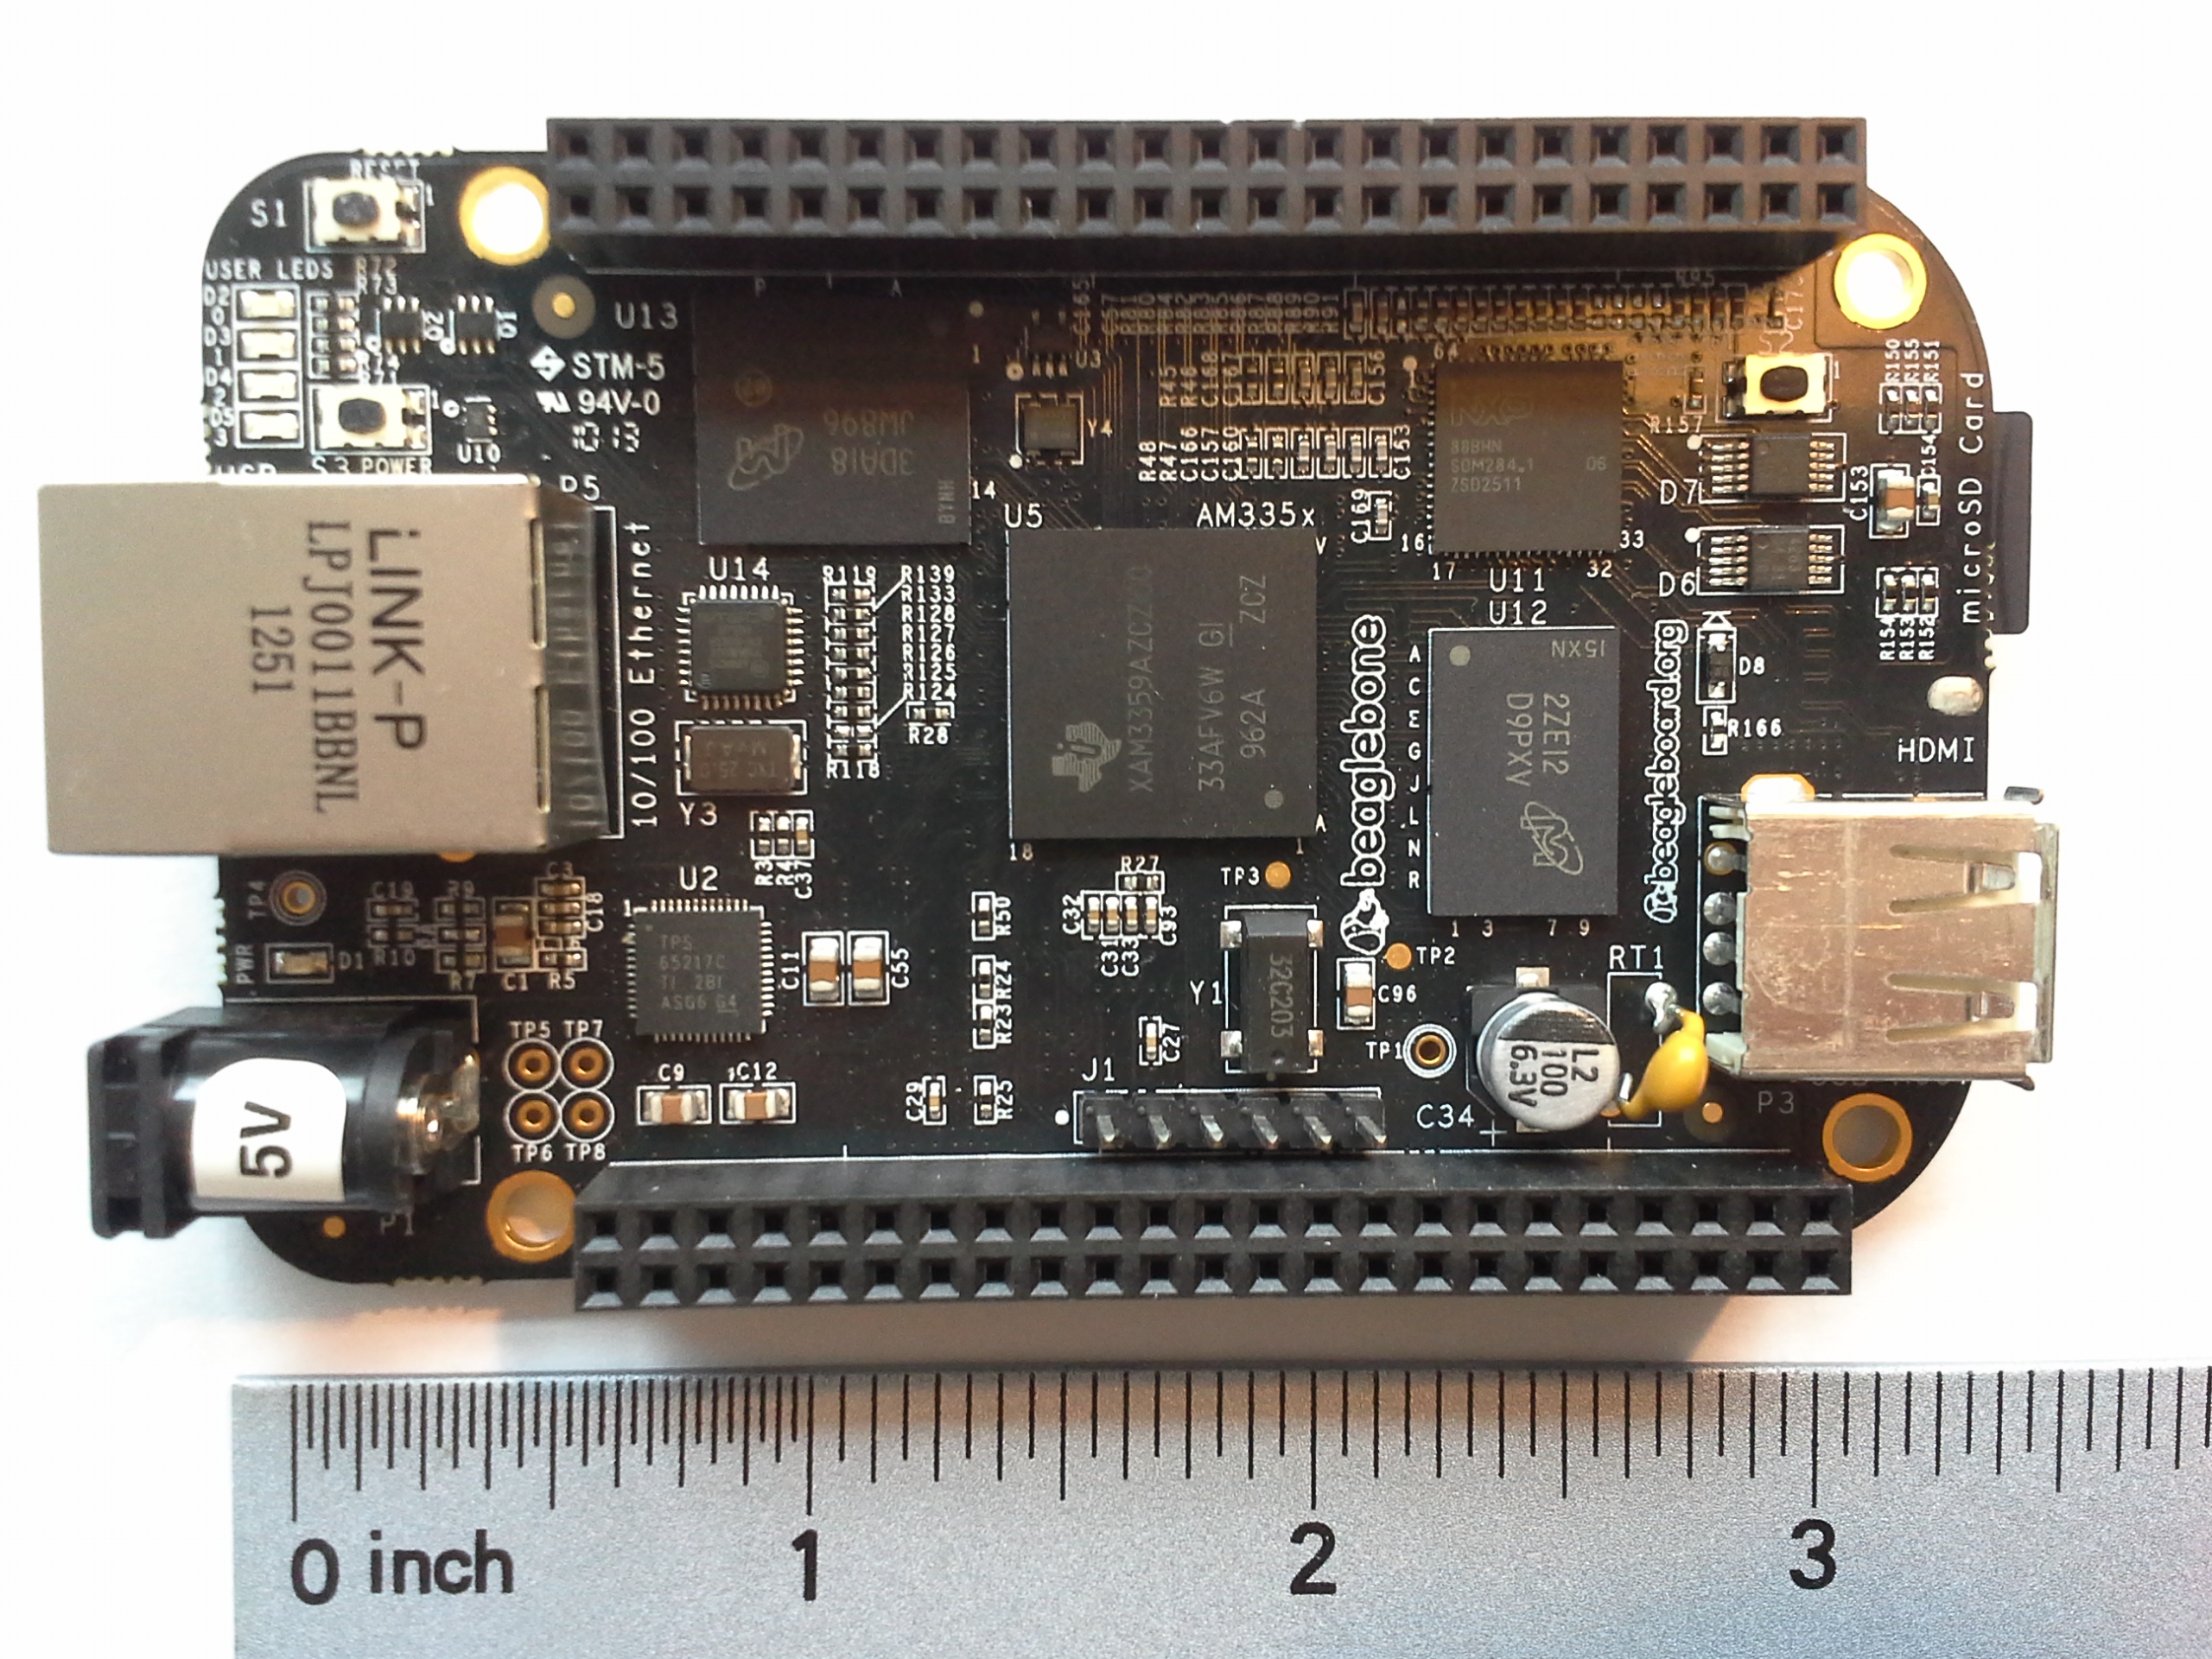
The BeagleBone Black is a very powerful and affordable microcontroller - superior to an Arduino Uno in a lot of ways. It's fast enough to be used as a desktop computer, yet it has more pinouts than an Uno. With the BeagleBone Black priced at $45, it's really a great value compared to an Arduino ($35) or even a Raspberry Pi ($35).

An Arduino, while power-efficient and reliable, is incapable of high performance use cases like image processing. Even the ARM based Arduino Due is thousands of times slower than the BeagleBone Black. It can't even parse a JPEG (the library won't fit in the flash). A BeagleBone or Raspberry Pi, however, can easily process live streams from USB webcams and OpenCV.

The BeagleBone Black is significantly faster and more capable than the comperable $35 Raspberry Pi Model B. Both have the same RAM, HDMI out, and Ethernet, but the BeagleBone Black has superior IO (more and faster) and has a faster processor capable of running Ubuntu, where the Raspberry Pi cannot due to its older architecture. Remember, Raspberry Pi was intended to be an educational tool to teach kids to program, not to help you hack together a robot. The BBB has two extra processors dedicated to effectively manage the pinouts.

The downside? The pre-installed OS (Angstrom) at this point in time will break if you do a package upgrade. Not only will it never boot again once it finishes updating, but it also uses too much of the /tmp/ filesystem and stalls halfway though. You can run Ubuntu on it, but there isn't much of a point, since it's basically incapable of having a desktop UI or using OpenGL as far as I can tell. There's no reason why it shouldn't be possible. In fact, LXDE and XFCE sort of work.  This leads to the bigger problem. The documentation, support, and community behind BeagleBone is nowhere near that of the Raspberry Pi, let alone Arduino (which has the best by far).

Tkinter with Serial

Submitted by Evan Boldt on Fri, 05/03/2013 - 23:46
Topics

Introduction

A short Python script to display text from serial (for example, an Arduino) to a TkInter window widget while overcoming the issue of pySerials default blocking behaviorTo use Python as a graphical interface for an Arduino powered robot, programmatically read the USB with the pySerial library. However, waiting for input from pySerial's Serial object is blocking, which means that it will prevent your GUI from being responsive. The process cannot update buttons or react to input because it is busy waiting for the serial to say something.

The first key is to use the root.after(milliseconds) method to run a non-blocking version of read in the tkinter main loop. Keep in mind that when TkInter gets to the root.mainloop() method, it is running its own while loop. It needs the things in there to run every now and then in order to make the interface respond to interactions. If you are running your own infinite loop anywhere in the code, the GUI will freeze up. Alternatively, you could write your own infinite loop, and call root.update() yourself occasionally. Both methods achieve basically the same goal of updating the GUI.

However, the real issue is making sure that reading from serial is non-blocking. Normally, the Serial.read() and Serial.readline() will hold up the whole program until it has enough information to give. For example, a Serial.readline() won't print anything until there is a whole line to return, which in some cases might be never! Even using the after() and update() methods will still not allow the UI to be updated in this case, since the function never ends. This problem can be avoided with the timeout=0 option when enitializing the Serial object, which will cause it to return nothing unless something is already waiting in the Serial object's buffer.

ArduIMU

Submitted by Evan Boldt on Sun, 04/28/2013 - 01:08

Introduction

An ArduIMU v3, taken form the top  An ArduIMU v3 picture, taken from the bottom

An IMU is something used to detect primarily orientation, but is a general term for an Inertial Measurement Unit. Needless to say, they can provide some vital information for mobile robots. In particular, flying robots need them since there is no way to guess orientation using wheel encoders.

An advantage to having an all-in-one unit instead of just using each of its sensors yourself is that the board can cross-check and merge the data for you. For example, a gyro gives you changes in orientation in each axis, but an accelerometer and magnetometer both send 3D directions - both in different directions too. Furhtermore, the acceleration doesn't even always point down.

One would hope that these sensors would be able to give velocity or even position information. Sadly, the sensors are just not accurate enough to be able to numerically integrate and avoid drift error. It can be possible to use the information to refine something that is capable of giving position information - like a GPS. That is partly why many of these boards include a GPS port. The other is that they are primarily used in flying drones, which usually want a GPS anyway and it is not too expensive to add the connector.

Python Web UI with Tornado

Submitted by Evan Boldt on Fri, 02/08/2013 - 12:10
Topics

Introduction

So, you want a GUI for your robot. Sure, you could make a nice GUI in Python with Tkinter, but there are some really good reasons to try it as a website instead:

  • A web GUI can be accessed from almost any location
  • A well-designed web GUI can be used on almost any device like a tablet or a phone
  • HTML, CSS, and Javascript are well documented, powerful, and very flexible
  • HTML can be easily made to look very nice

There are some drawbacks to implementing your GUI as a website though:

  • It is only able to start communication one-way (browser to server, server responds)
    • Great for buttons and other input
    • Requres continuous polling or a commet to get data to be pushed to the browser
  • It adds another "layer" of complexity to your code
    • Several different languages (C++ on Arduino, Python Server, and HTML+CSS+Javascript in browser)
    • The server has to relay information from the browser to the robot

Making the GUI Attractive

Submitted by Jenn Case on Wed, 02/06/2013 - 12:23
Topics

Introduction

It is one thing to make a GUI and another to make a GUI that people will want to use. Despite the fact that the appearance of a GUI does not really affect how the program runs, it is always prudent to set up GUIs in a way that they could be presented professionally.

Although, this is really only important if the GUI runs properly. Making it function accordingly is always more important than its appearance.

Note: This will focus on improving the GUI example from the previous tutorial.