DJI ESC and Brushless Motor
DJI ESC and Brushless MotorIndrocution
These parts are designed to be used in a quadrocopter. They are sold as replacement parts to pre-built quadrocopters, but work well as interchangable parts. This is documention on the specs and how to use the parts, since none is really provided.
I have modelled these parts in Creo Parametric. However, since I am using the student edition, it would likely be uselless to anyone who wants the part for their own project since it supposedly will only work with other student licenses. Furthermore, I'm not sure the license would even allow me to do that. I am not aware of a reason why I can't show you the results of the model like diagrams and renders though.
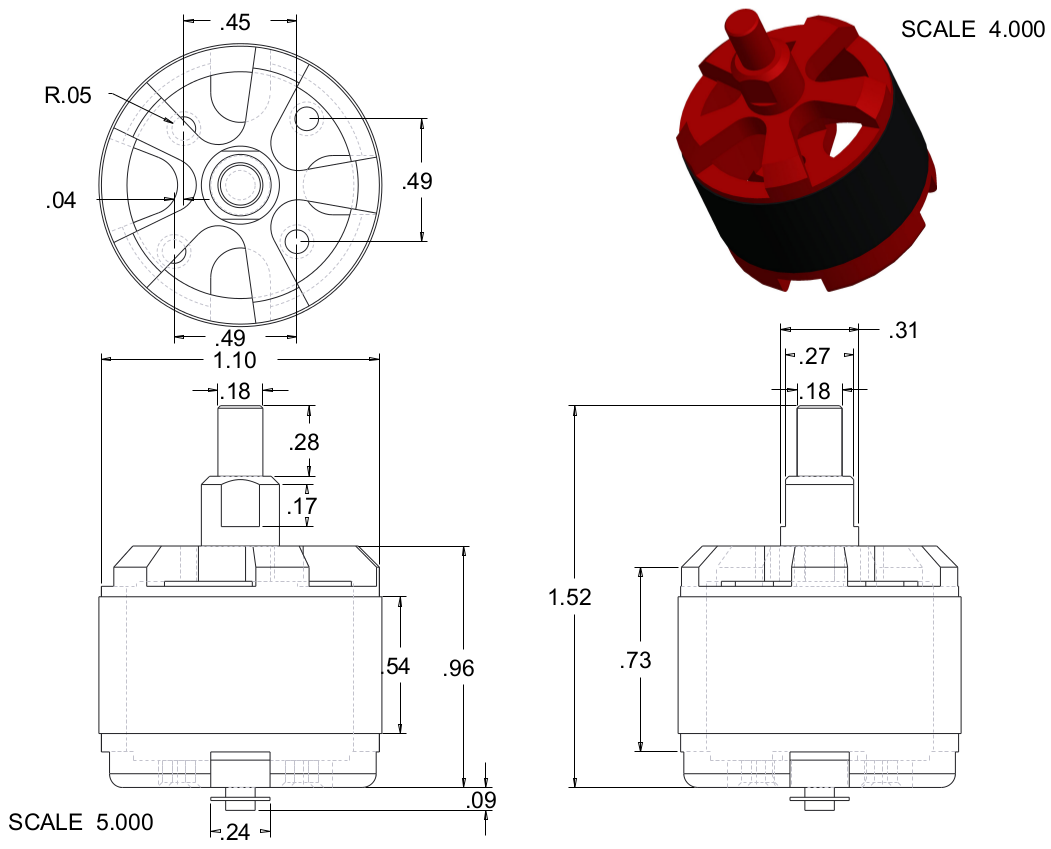
DJI ESC

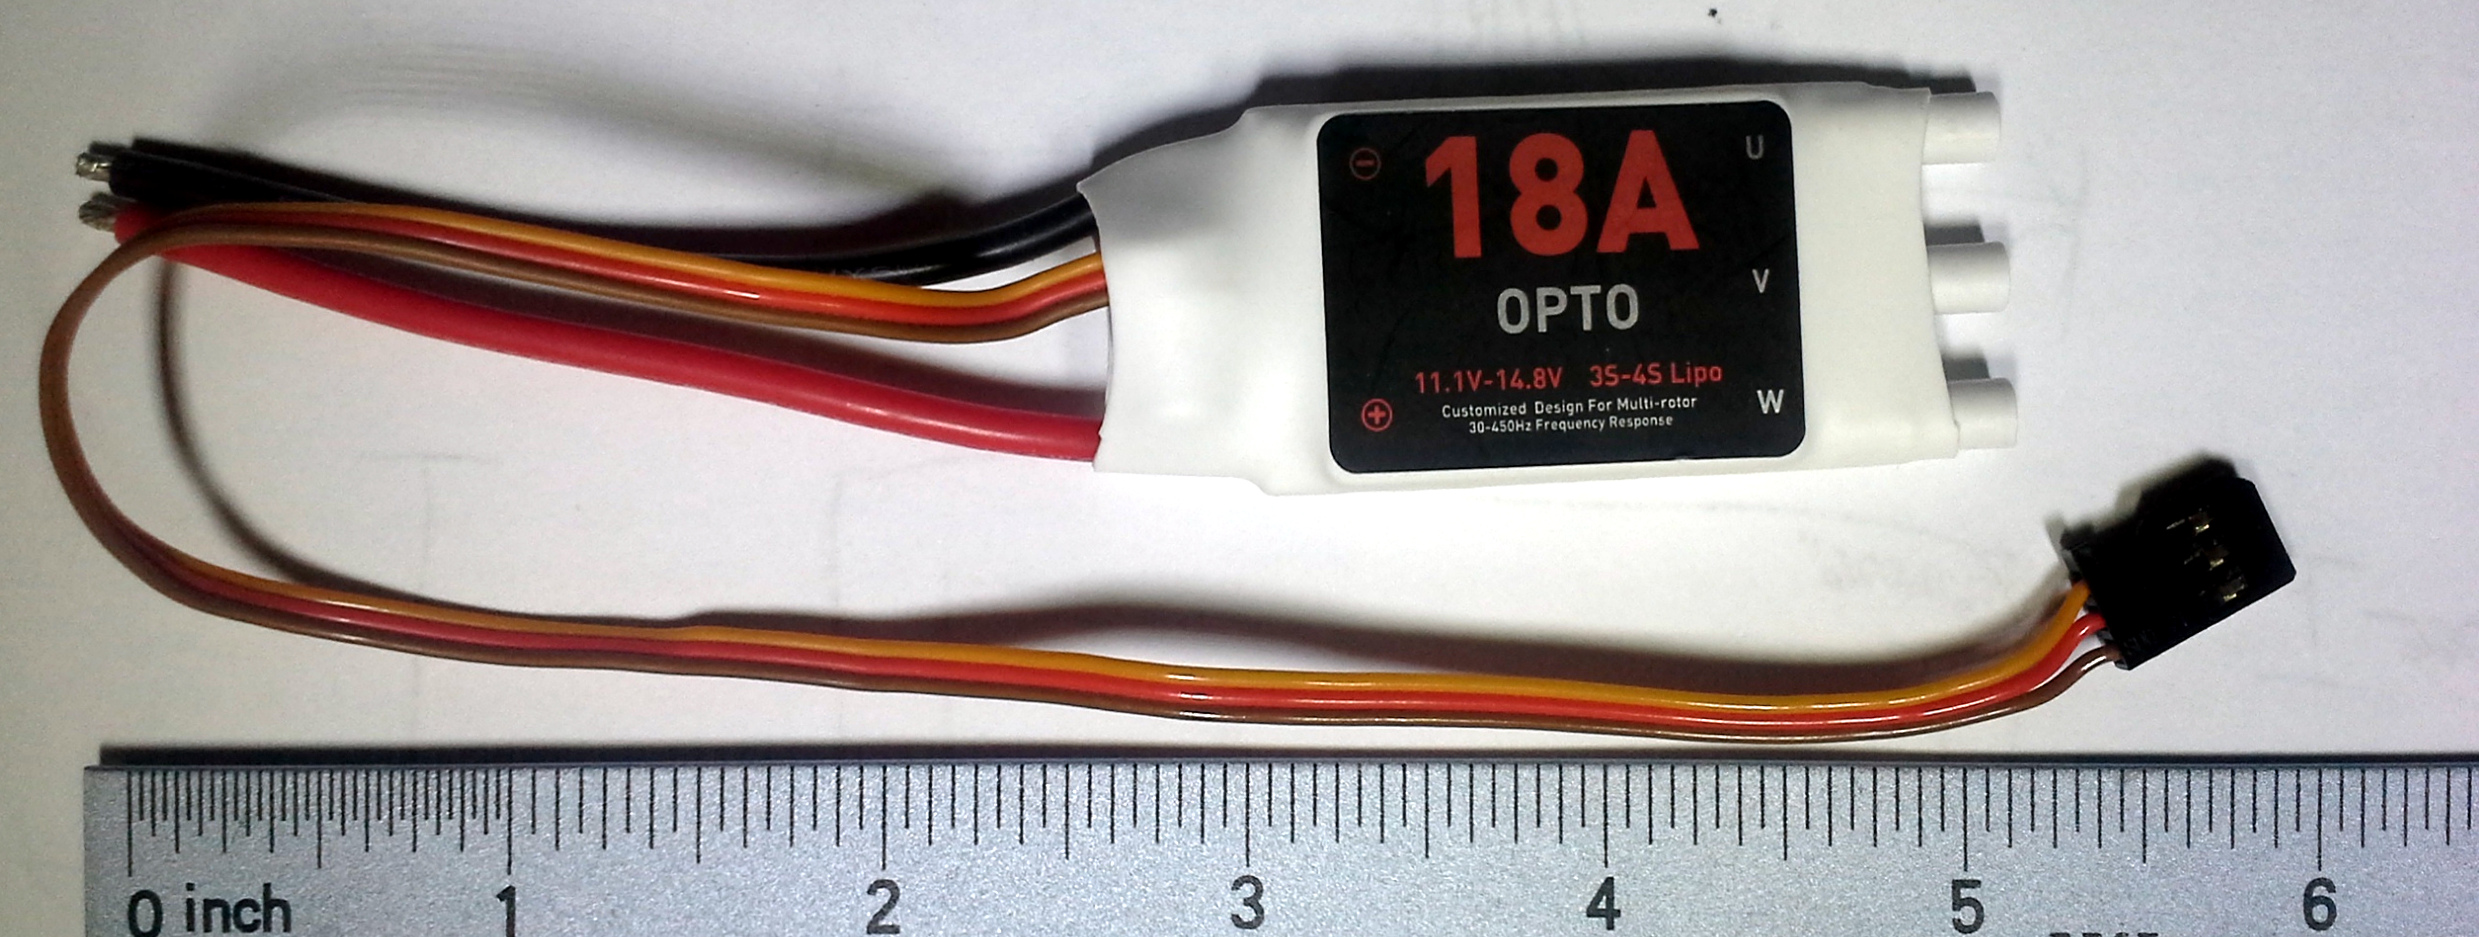
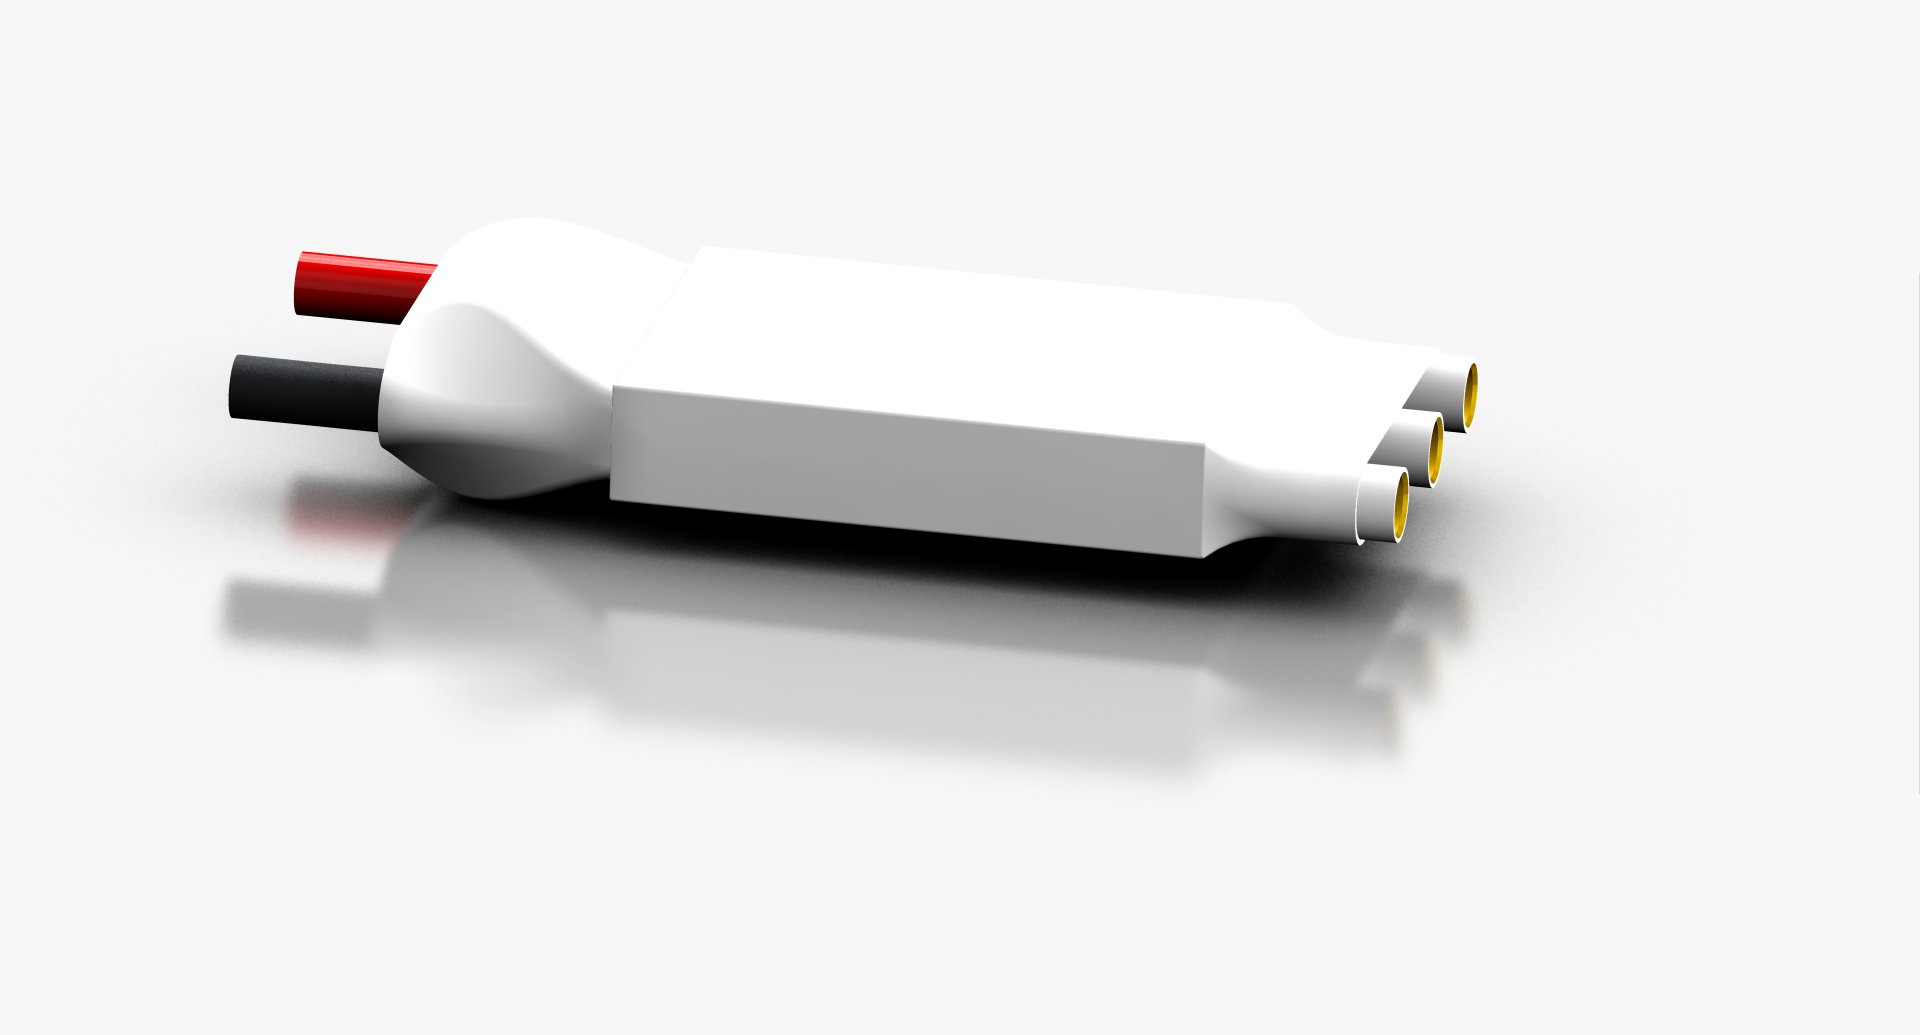
Note that I did not bother to dimension the lump where the wires come out because the shape is so irregular and varies between each individual one.
Specs
The name on the label is simply 18A. You could call it a DJI Opto-coupled electronic speed controller.
| Current | Voltage | Battery Compatibility | Frequency Response |
|---|---|---|---|
| 18 A | 11.1-14.8V | 3S-4S LiPo | 30-450 Hz |
When I weighed it I found it is 0.815 oz. The ESC outputs 3.33V on the red wire.
Signal
Some ESCs have a complicated (and undocumented) startup routine. It allows them to calibrate their input signal range. In this case, we have such control over our controller that it is substantially easier to calibrate the controller than the ESC.
According to the DJI wiki on the ESC, as well as the sticker on the actual device, it can accept signals from 30 Hz to 450 Hz. The Arduino Servo library outputs a pulse every 20ms, which translates to a frequency of 50Hz, which is within the allowable range. To set the speed, use Servo.writeMicroseconds( pulseDuration ). According to Arduino, a servo can be set to no speed with a by passing the parameter a value of 1000 uS, and full speed by passing 2000. However, according to this wiki specifically about ESCs, the range is typically from 500 uS to 2500 uS. This specific one seems to take a range from 1150 to 1950.
Motor
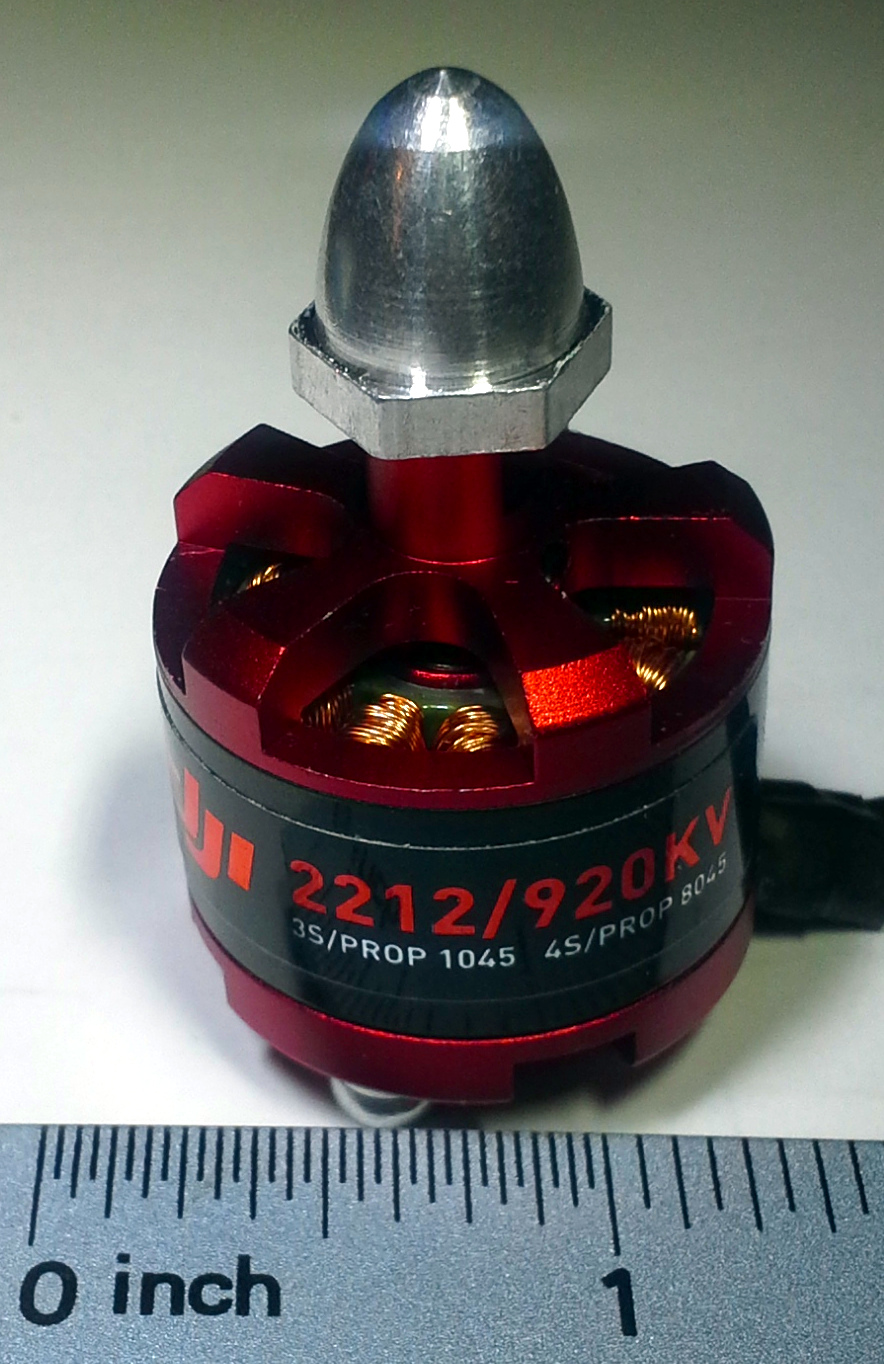
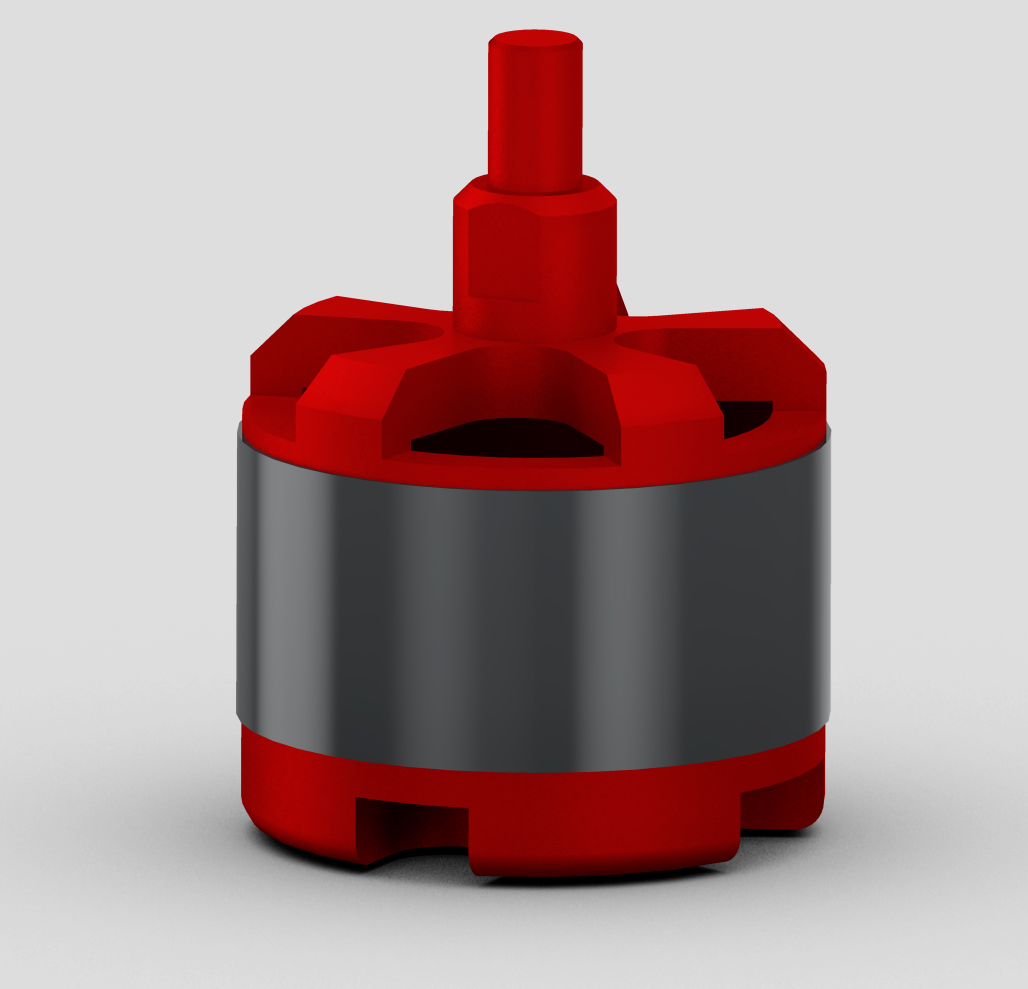
Specs
The full name as far as I can tell, is: DJI Brushless outrunner 2212/920K Motor F330-550.
| rpm/V | Shaft | 3S Battery / Prop | 4S Battery / Prop | Current | Max Current |
|---|---|---|---|---|---|
| 920 kv | 8mm | 11.1V / 10x4.5 | 14.7V / 8x4.5 | 15-25A | 30A |
I have weighed it myself at 1.980 oz (56.1321 grams). It is about 1.25 inches in diameter, and about 2 inches tall.
Lift Test
I tested the signal ranges for the ESC and the corresponding lifts for two kinds of DJI propellers.
Parts
- DJI 30A ESC
- DJI 2212 920kv motor
- An aluminum/steel beam about 1/8" thick to mount the motor to
- 2 to 4 M3 (3mm) screws
- 2 to 4 M3 (3mm) lock washers
- Drill
- Drill bits capable of drilling into metal
- 9/64" drill bit for outer mounting holes
- 9/32" drill bit for inner shaft hole
- A power supply capable of 11-13v at 18 A
- Use a very expensive lab power supply
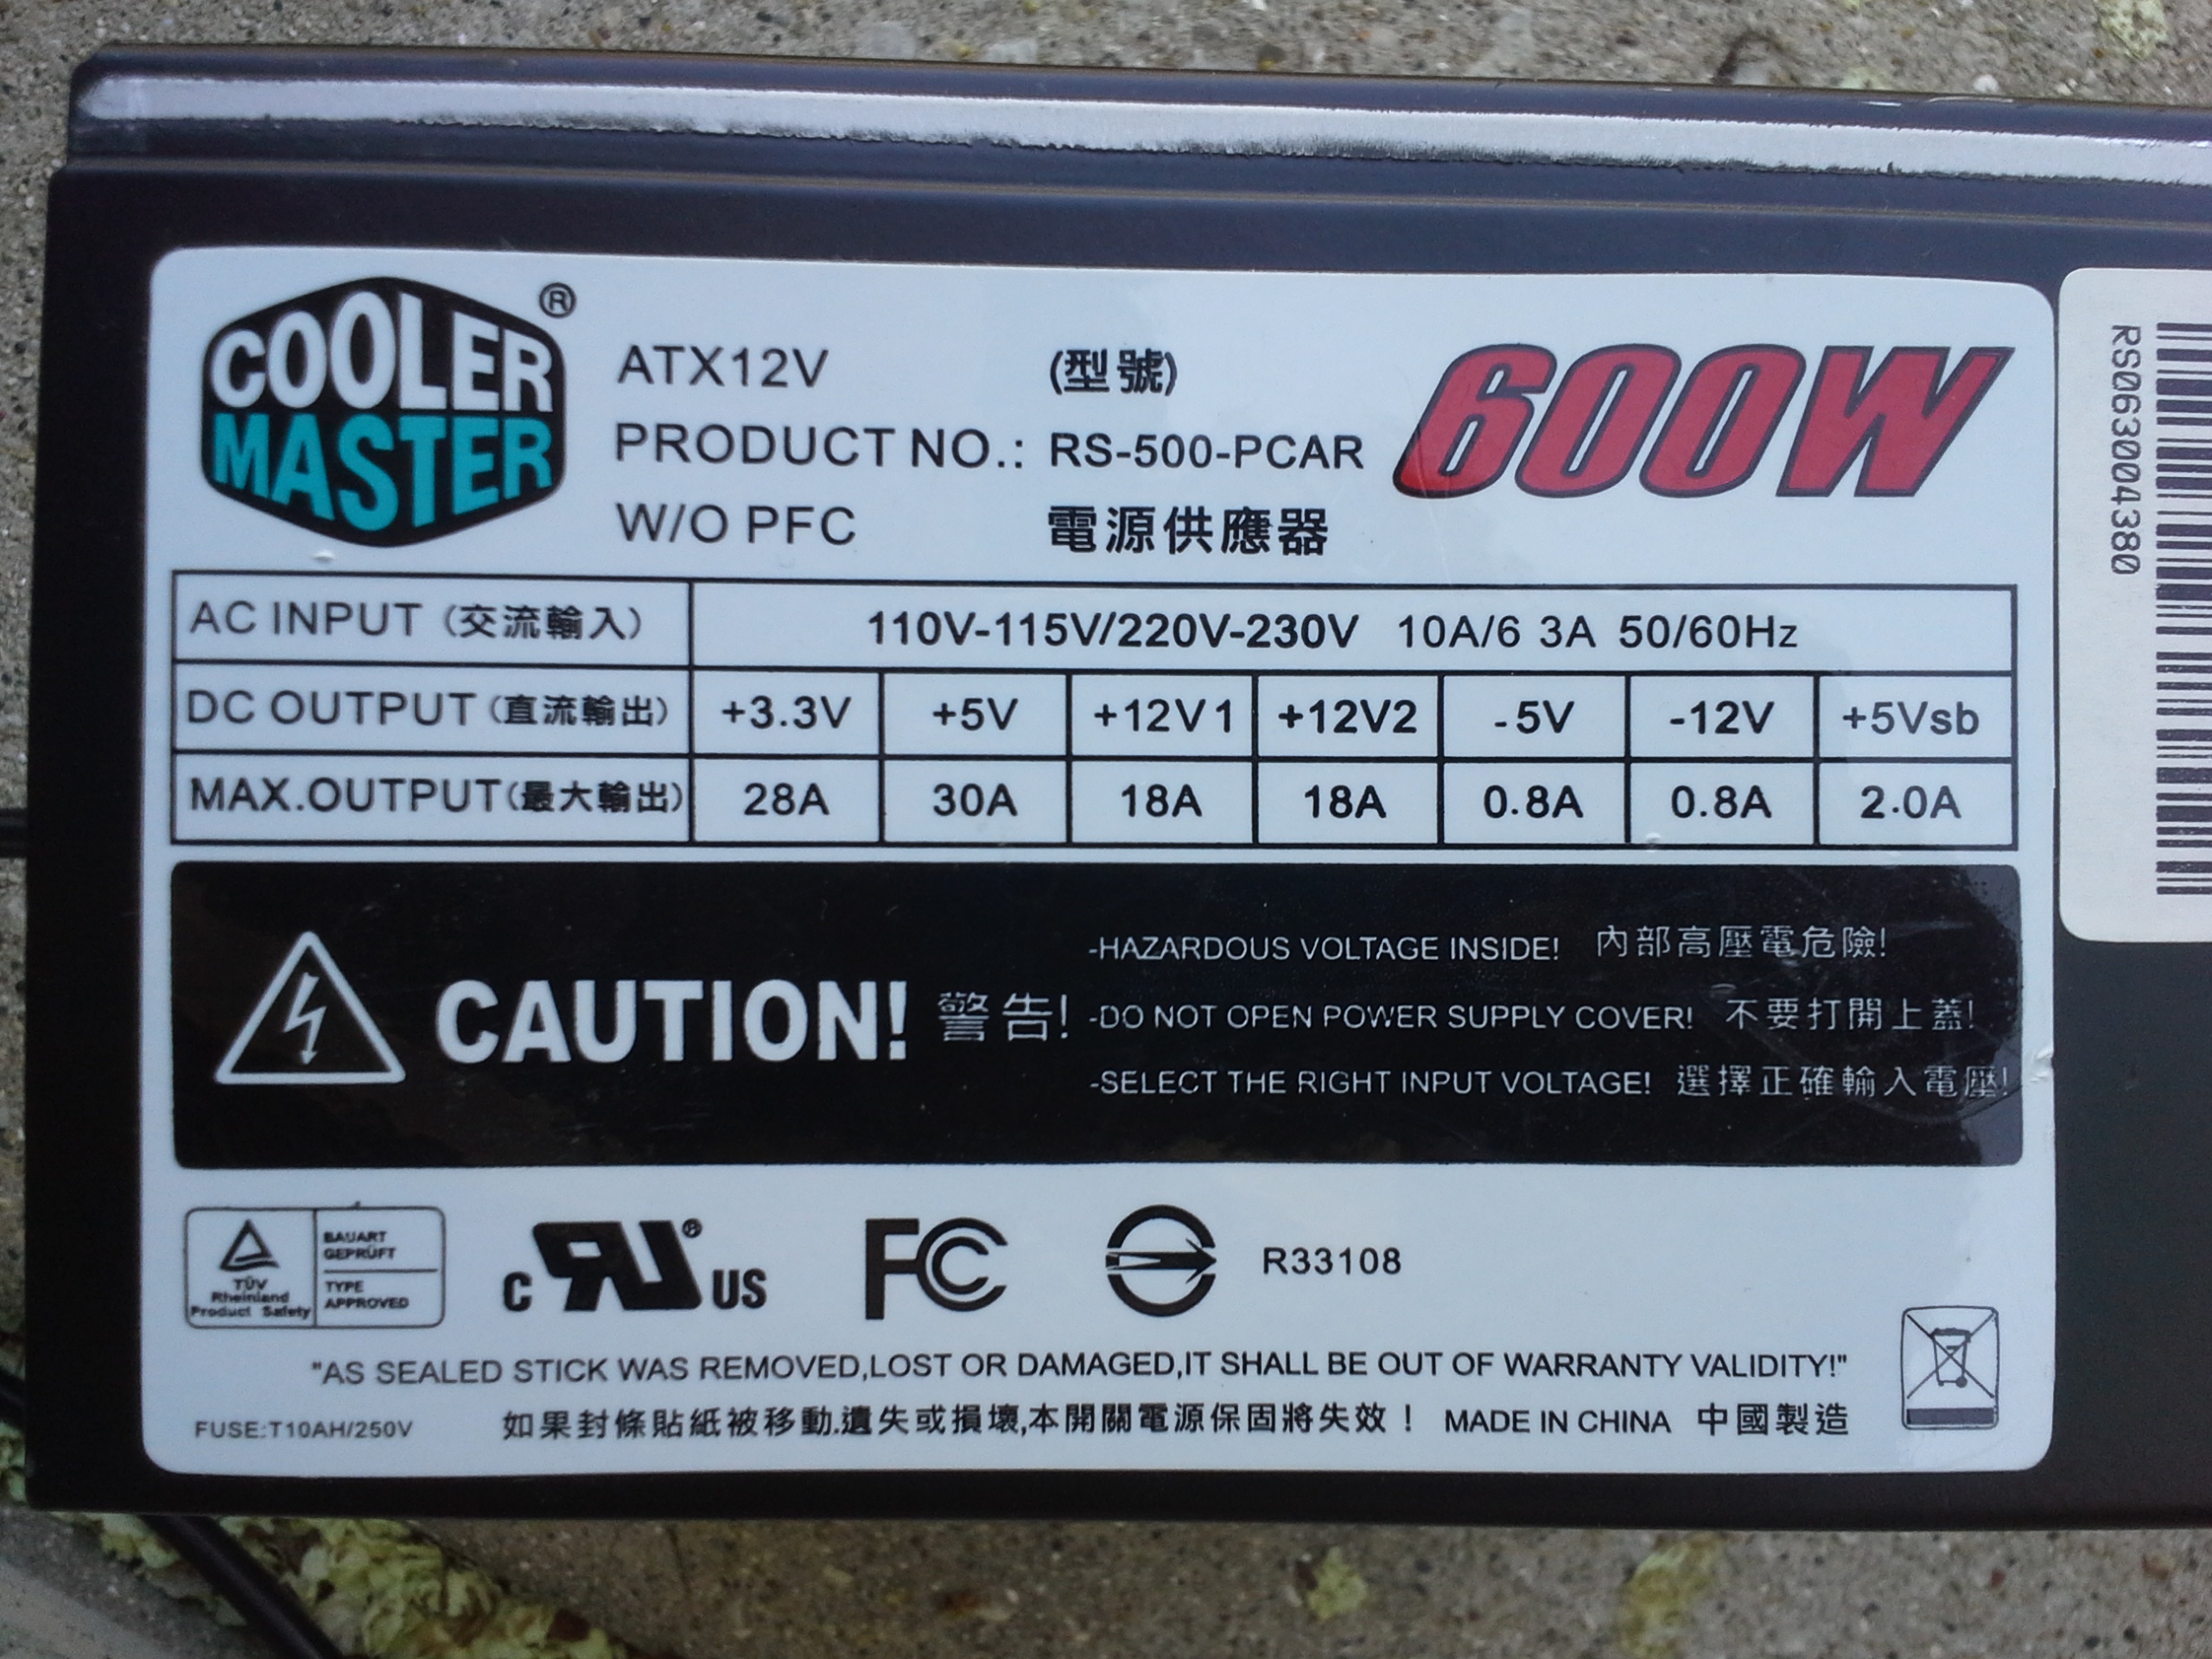
- OR a hacked desktop computer power supply
- Use 12v rails
- Must support at least 18A on 12V rails
- I used a Cooler Master Extreme Power Plus 500W
- A block of wood (2x4, 4x4, etc)
- DJI 8045 (8" diameter) propeller
- DJI 1045 (10" diameter) propeller
- A food scale or more scientific scale with a range of about 0-8lb
- Clamps
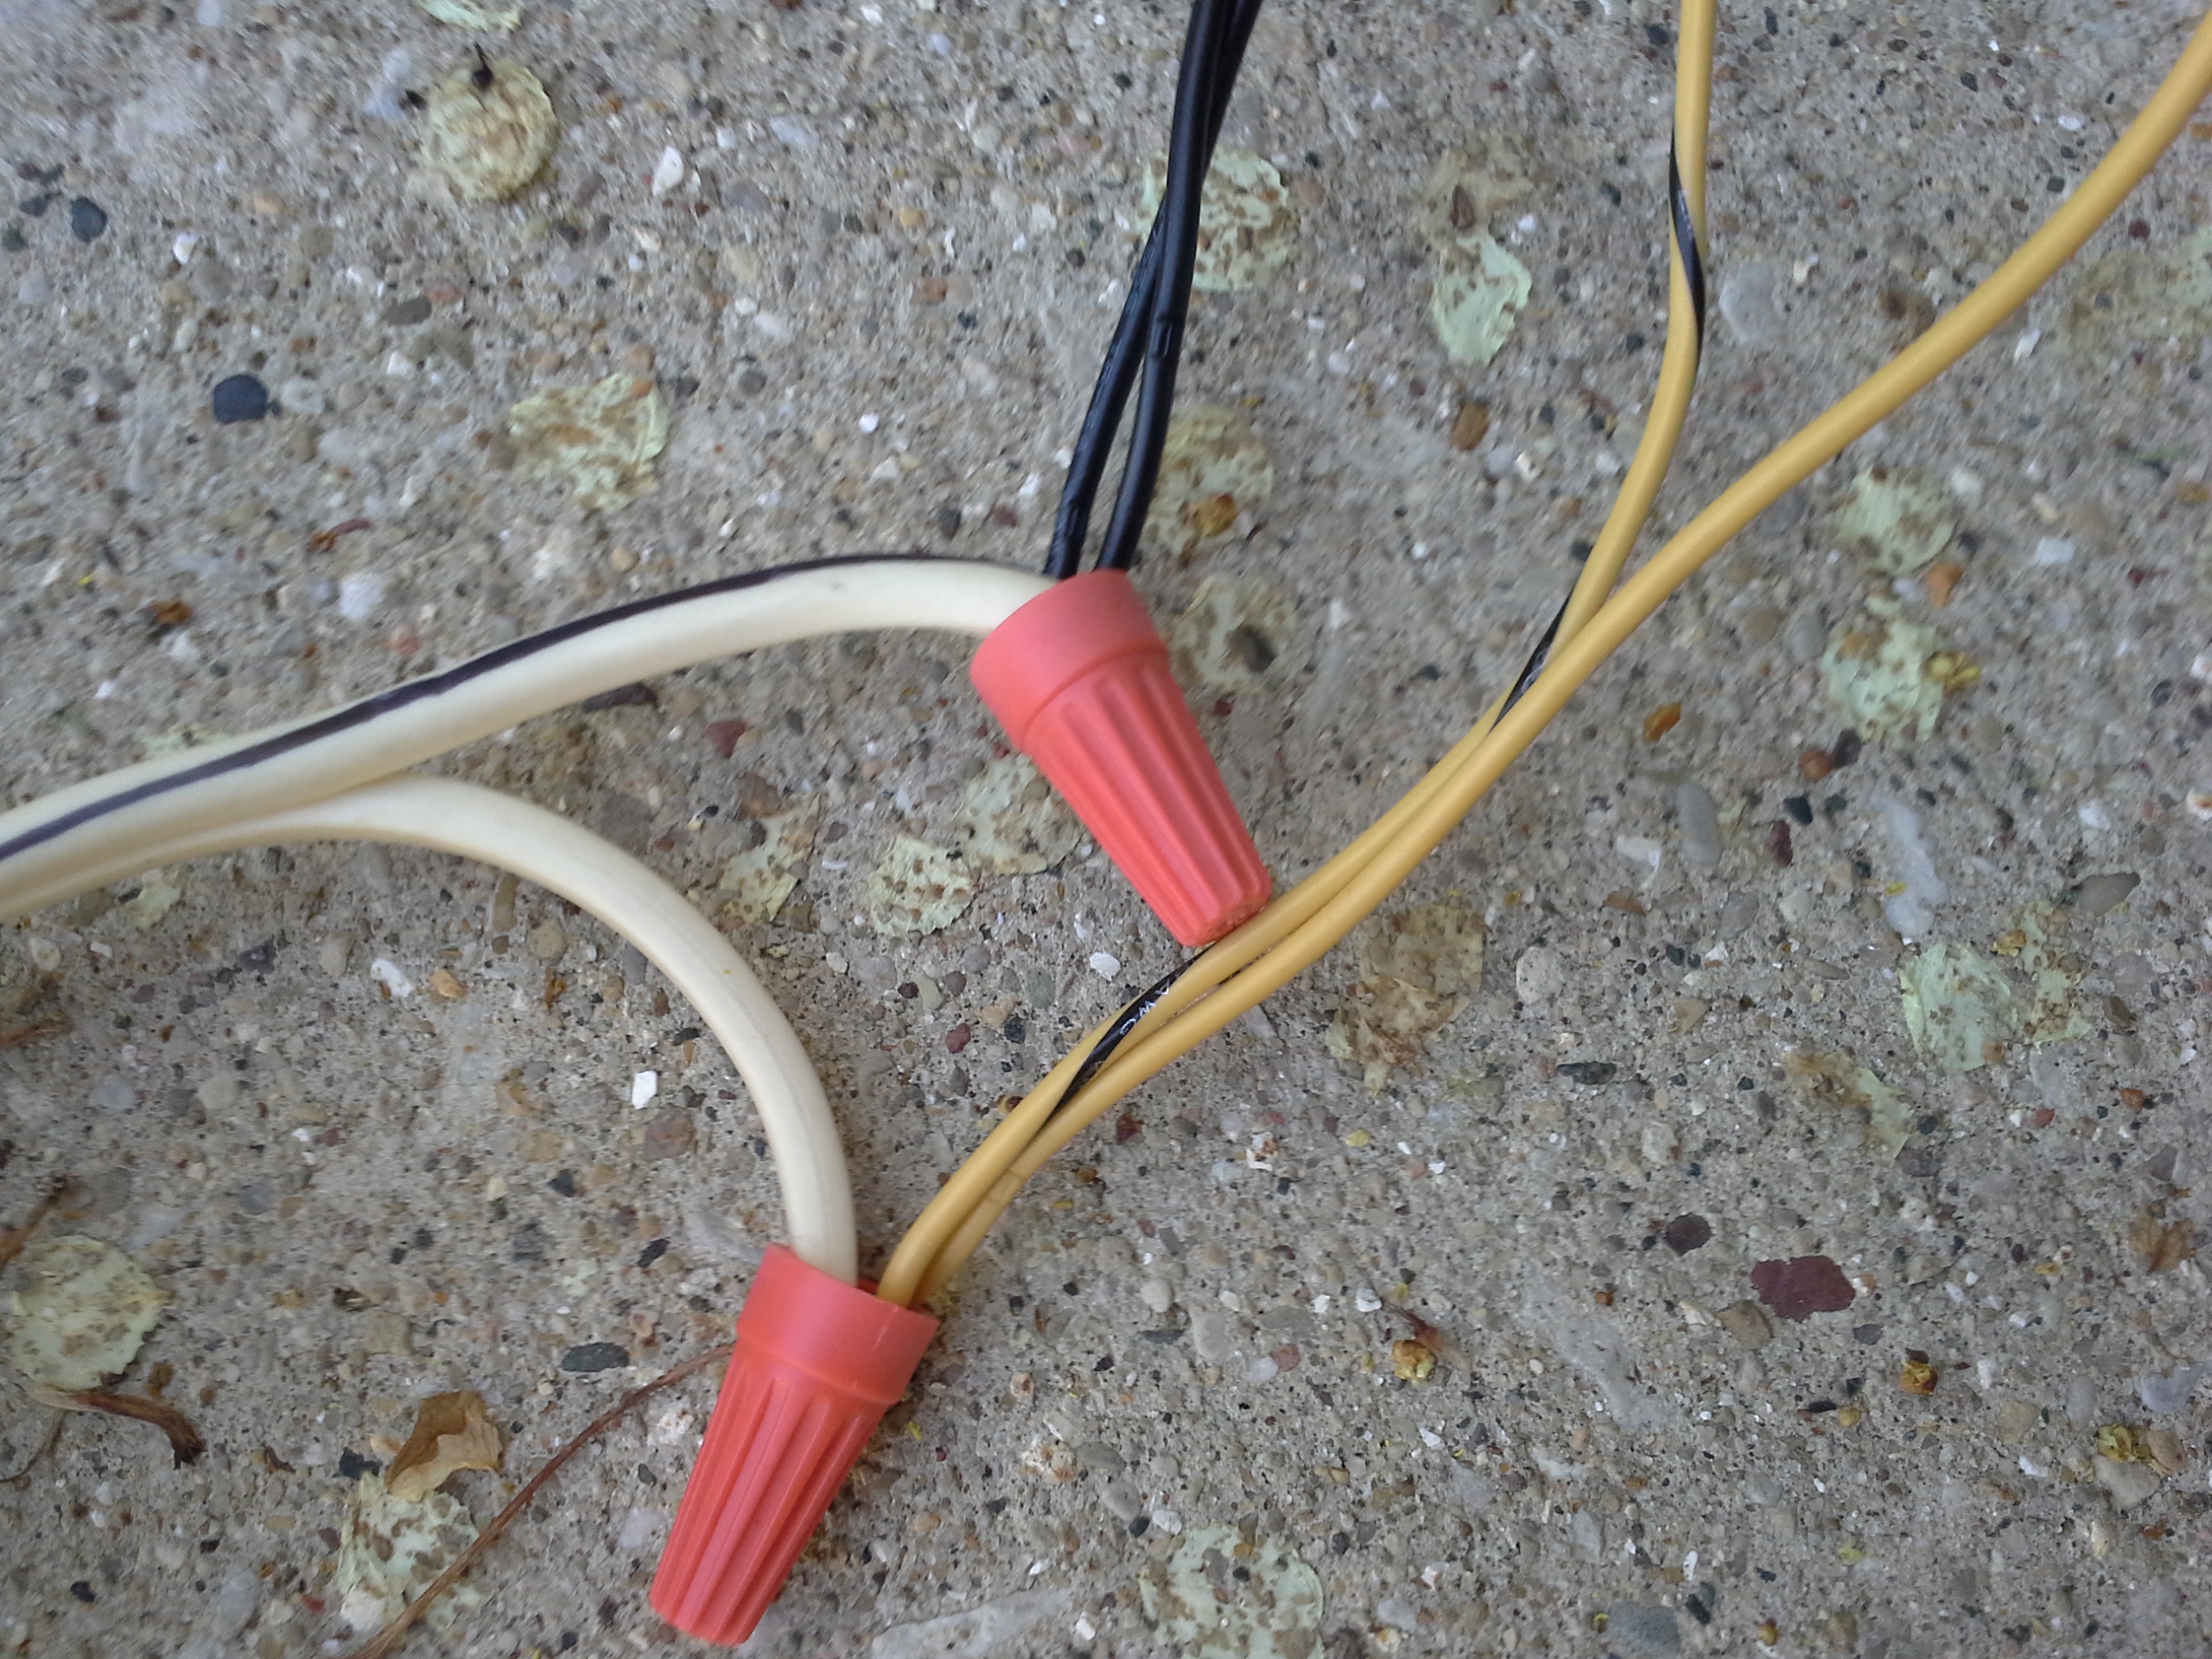
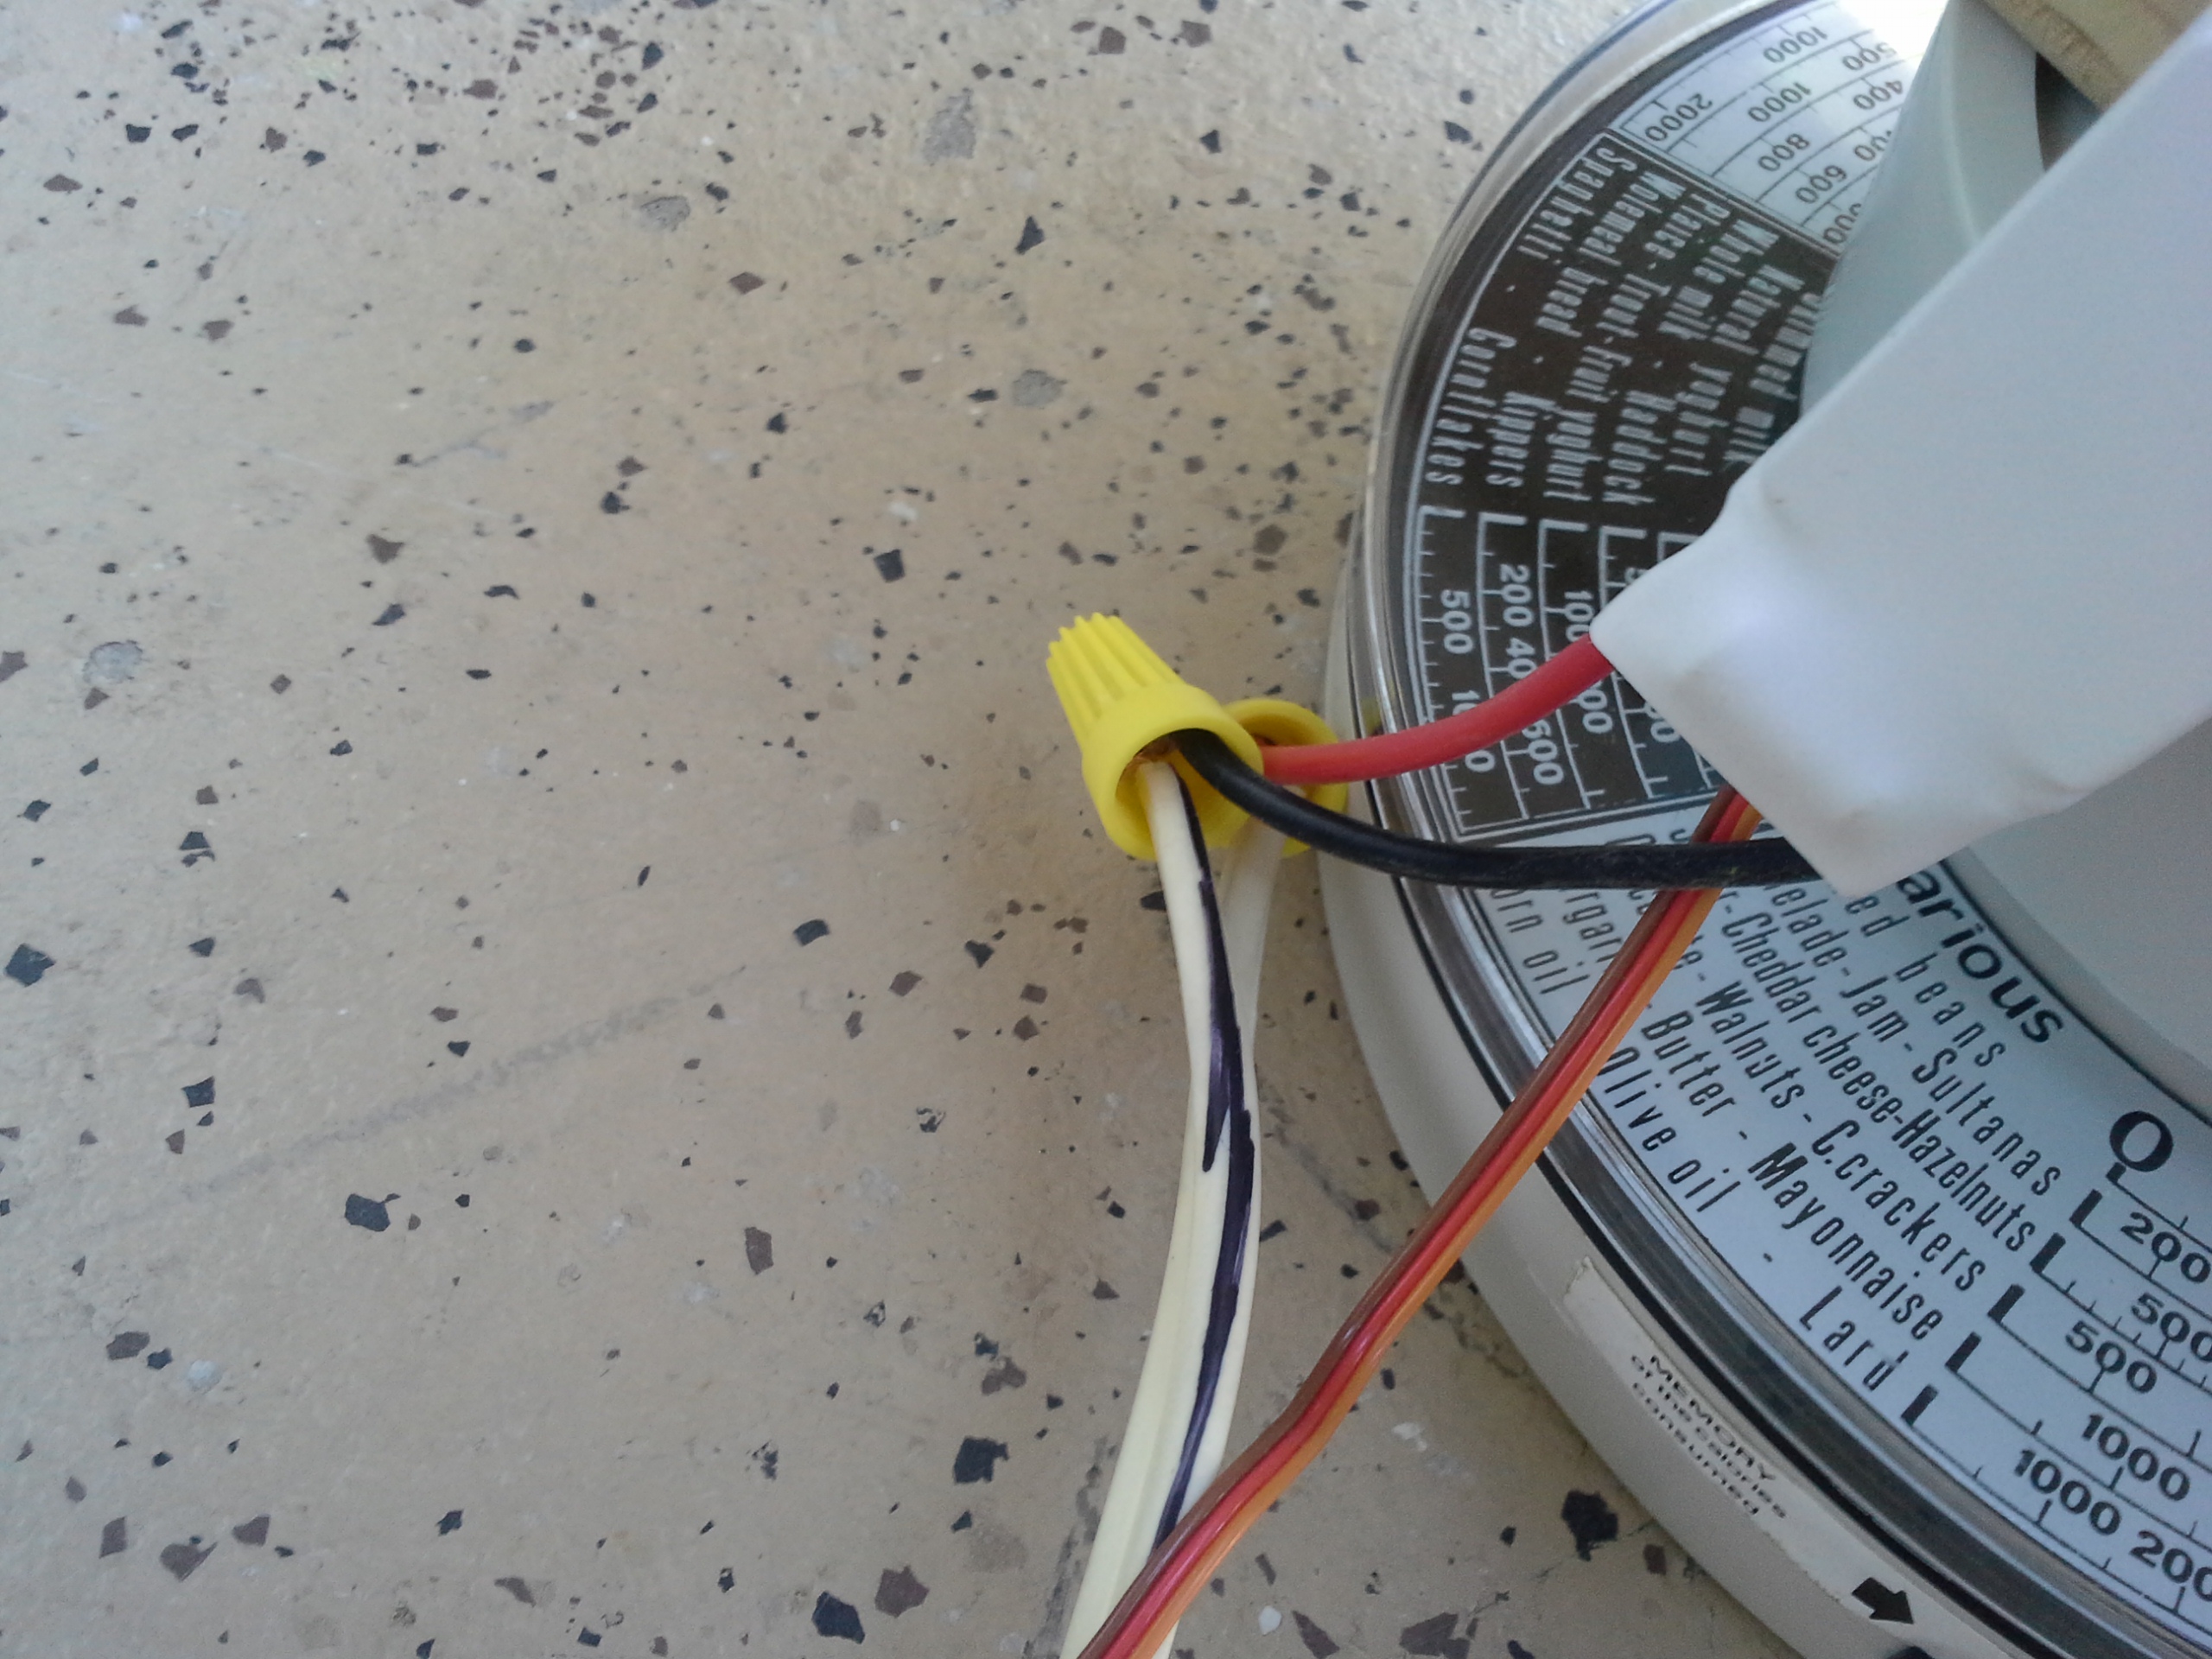
Wiring
The wiring is easy. I made a fritzing model of it though. You can download my parts at the bottom of this page.
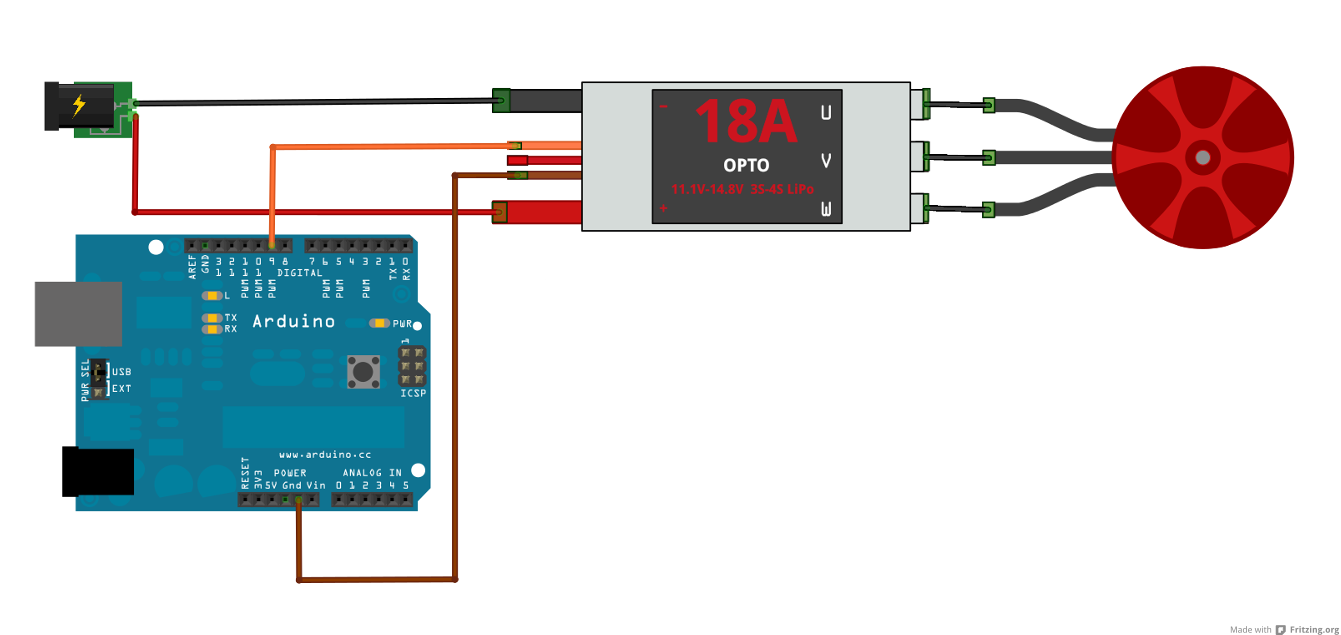
The ESC outputs a well regulated 3.33V on the small red wire, which is enough for some microcontrollers and Arduinos, but not the Arduino Uno or Mega. So the Arduino Uno would need a seperate power souce. The data pin can be any pin that the Servo library can use.
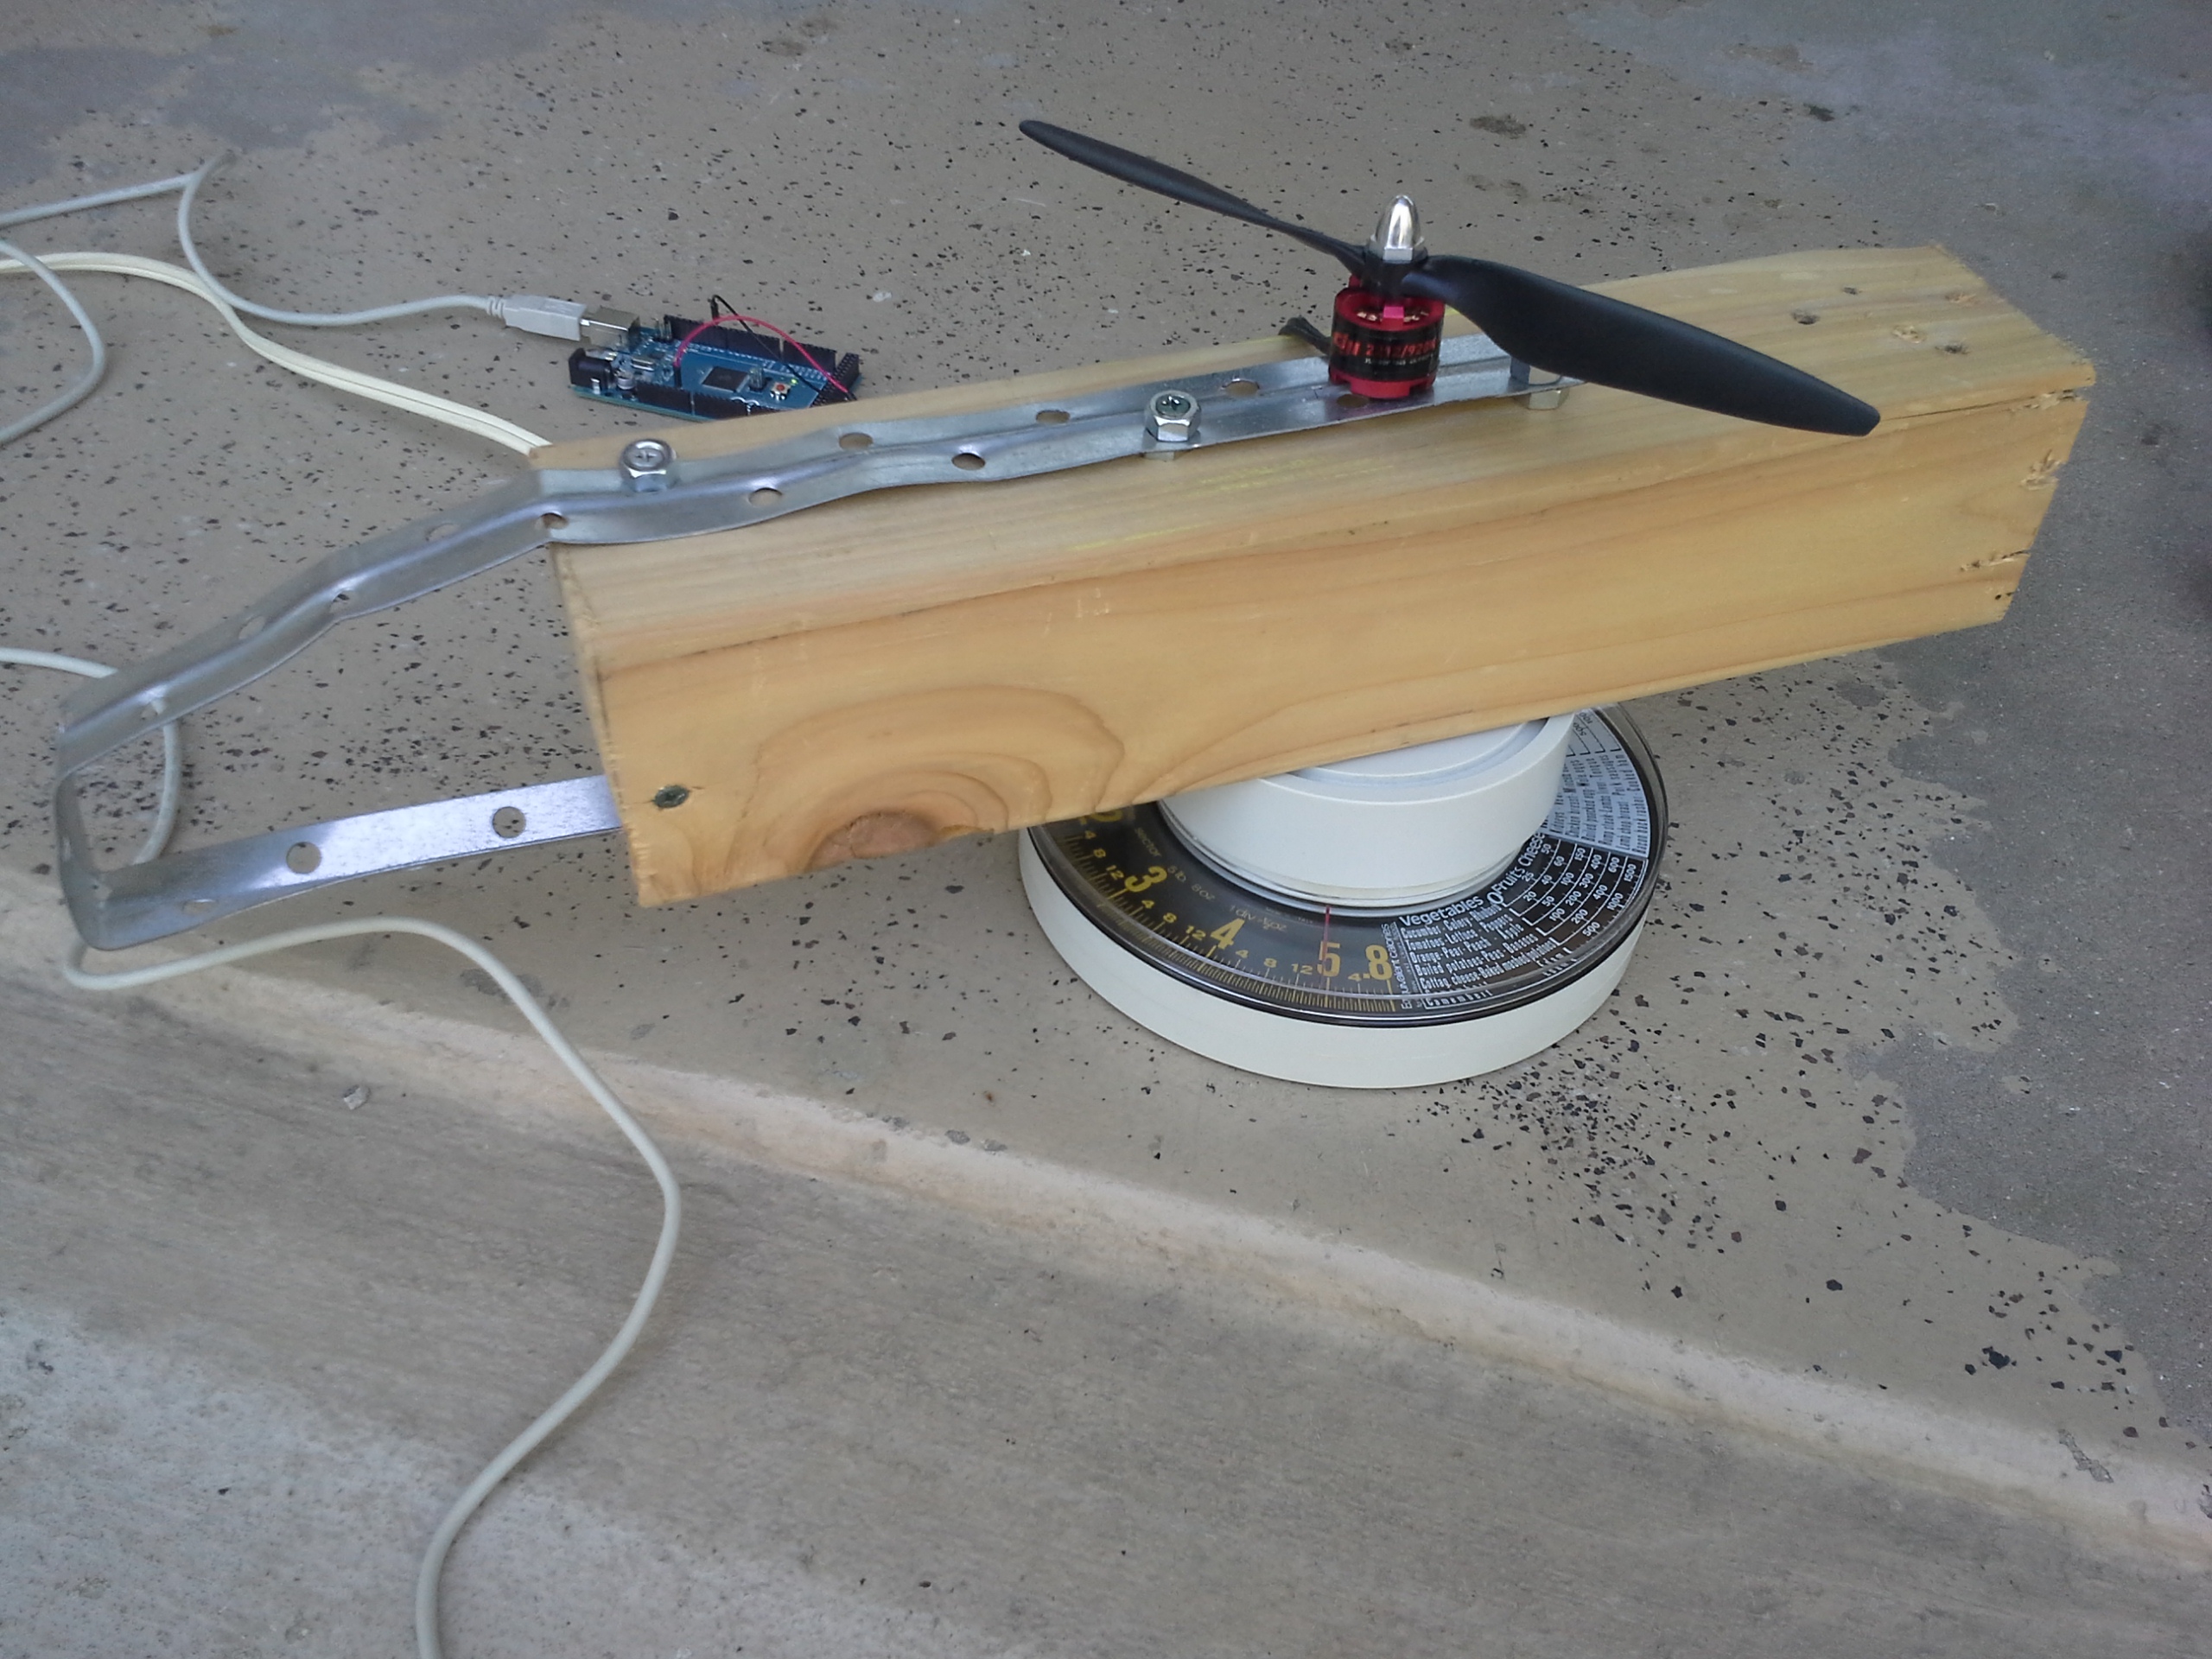
Setup
Using a desktop computer power supply capable of powering 36A of 12V to power the ESC and motor, it should have more than sufficient power. The testing rig was a very quickly put together device just intended to keep it firmly in place on the scale. The scale was not a particularly accurate one either, but it worked reasonably well.

Results
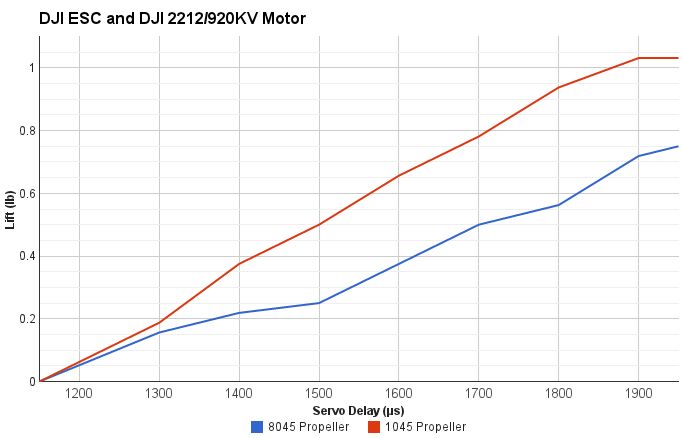
The most lift achieved on the 10" propeller was 1 pound. The most lift achieved on the 8" propeller was about 3/4 of a pound with a servo delay of 1950 microseconds.
A lot about the test is not perfectly accurate for my needs. It used 12v instead of 11.1. Also, the scale that was used was not very accurate either since the readings could be easily read wrong by an ounce. Furthermore, due to the off-center nature of the mounting bracket, the weight on the scale may not have been read perfectly well. Still, it provides a good guideline for how much the combination of parts can lift.
Most importantly, the 4 by 4 blocked more of the airflow than any chassis would, so one might expect to get even more lift than these measurements.
It also should be observed that there was no additional lift after 1900 on the 10" propeller, but the 8" one saw an increase. This could suggest that the ESC is reaching its amperage limit of 18A.
The motor was noticably warm after the 10" test, but was not at all during the 8" test. This leads me to believe that the 8" propeller would be substantially more efficient, if you don't need the extra lift.
Test Code
#include <Servo.h>

Servo myservo;  // create servo object to control a servo

int val;    // variable to read the value from the analog pin

void setup()
{
  Serial.begin(9600);
  myservo.attach(9);  // attaches the servo on pin 9 to the servo object
}

void loop()
{
  val = 1050;
  delay(500);
  myservo.writeMicroseconds(val);
  Serial.println(val);
}